I had long ago dismissed the idea of making my own stock. Why on earth would I consider such a thing when Costco sells organic chicken broth by the case and Whole Foods is a mile from my house? Good grief…I’ve got better things to do with my time. It’s not that I’d never thrown some leftover chicken parts in a pot with some veggies to simmer a few short hours and make some soup for dinner, but I’m talking about that low and slow method….like hours upon hours on the stove with one of those massive size stock pots…. That’s what I am talking about. who.has.time and what.on.earth. would I use it all for???
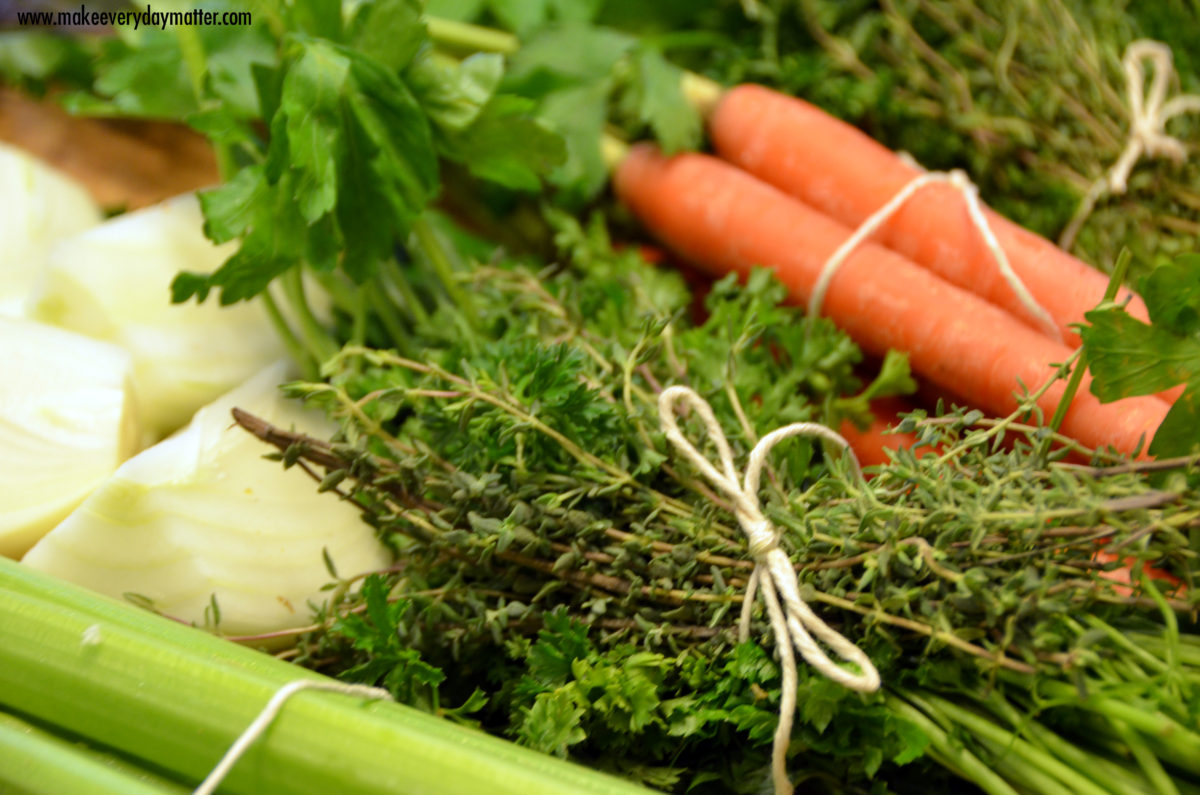
Well… like you’ve probably already read in the pages of my blog.. I am known to say the word “NEVER” and then choke on those exact words.. the dog…the grainmill…homeschooling and now I just drowned in a giant pot of stock. What changed my mind? You see, summer 2015 I found myself in Italy and there was this girl I met in our tour group…she looked all cute and Barbie Doll like and I’m thinking there is no way this girl gets those pretty finger nails dirty. She was super sweet and all and I wasn’t expecting to hear these words…”I live on a farm”…or “I slaughter my own meat” … or “I drive a tractor”…I could go on with examples but you catch my drift.. this was no Barbie Doll… this was just the cutest little “Farmer Girl” ever, which has sense become her nickname! While what I learned from her and how quickly she became one of my soul sisters is an entire post in and of itself… I’ll try to stick with the topic at hand…STOCK.
On one of the long bus rides we chatted the time away as we soaked in the scenery of Italy going by. She mentioned a cookbook to me I hadn’t heard of… “Nourishing Traditions”. She kept piling on the goodness describing how nutritious stock was, the gelatin, the gut healing properties, the immune boosting power unlocked via that low and slow cooking method from grass fed or pasture raised animals, of course. I was intrigued…enough so that as soon as we got in to a wifi area I opened up my Amazon app and had that book shipped to be waiting for me when I arrived home.
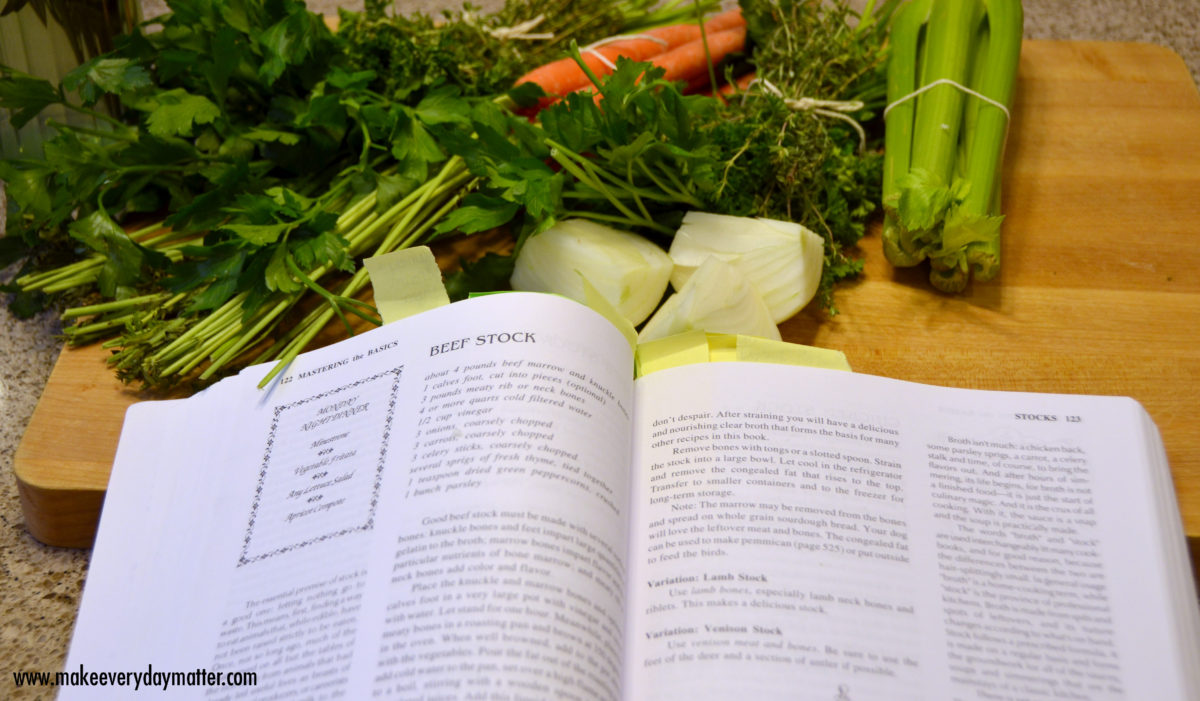
Once I arrived back home I devoured that cook book from the front cover to the back and every word in-between…it was covered in post it notes and a long running shopping list accompanied it. I’ll try not to get off on a rabbit trail about the soaked and sprouted nuts and grains, kefir, butter, cream cheese, etc. cause I’ll never get to the recipe here!
I ordered some bones from a local farm (no cow wandering around in my backyard YET!), giant stock pot from Costco, organic veggies and herbs from Whole Foods and I was ready to go. Chicken stock..check…yum!… Beef stock…check…yum! And now it was time for Mary’s Little Lamb and folks, this was the most flavorful of all!!! Nearly 600 oz of rich, golden colored goodness now fill mason jars in my freezer for months of nourishing our bodies.
See, you’re probably thinking exactly what I was thinking??? What would you do with all of that? {Well, first of all you don’t have to make such a huge pot…base it on family size as well as your ability to store it}..…let’s name a few things: I replace all liquid in rice or risotto recipes with stock. I make soup with stock. I use stock as the needed liquid in many crock pot recipes. I drink it warm…plain. Bases for sauces & stews. Grits. Meatloaf. Dumplings. Mashed potatoes. Gravy. Stuffing. Casseroles. Does that give you enough options?
One last note… the method is about the same for beef, chicken, lamb… but you may find some differences. I found the Lamb to be the richest in flavor and color. The lamb had the least amount of fat on the surface when cooled by far (some people throw away the fat… I put a bit in every jar). The Lamb had the most amount of scum come to the top after the initial boiling. (that’s not a good thing or a bad thing…just an observation and you remove it anyway).
Ok…ok…let’s get to the darn recipe!
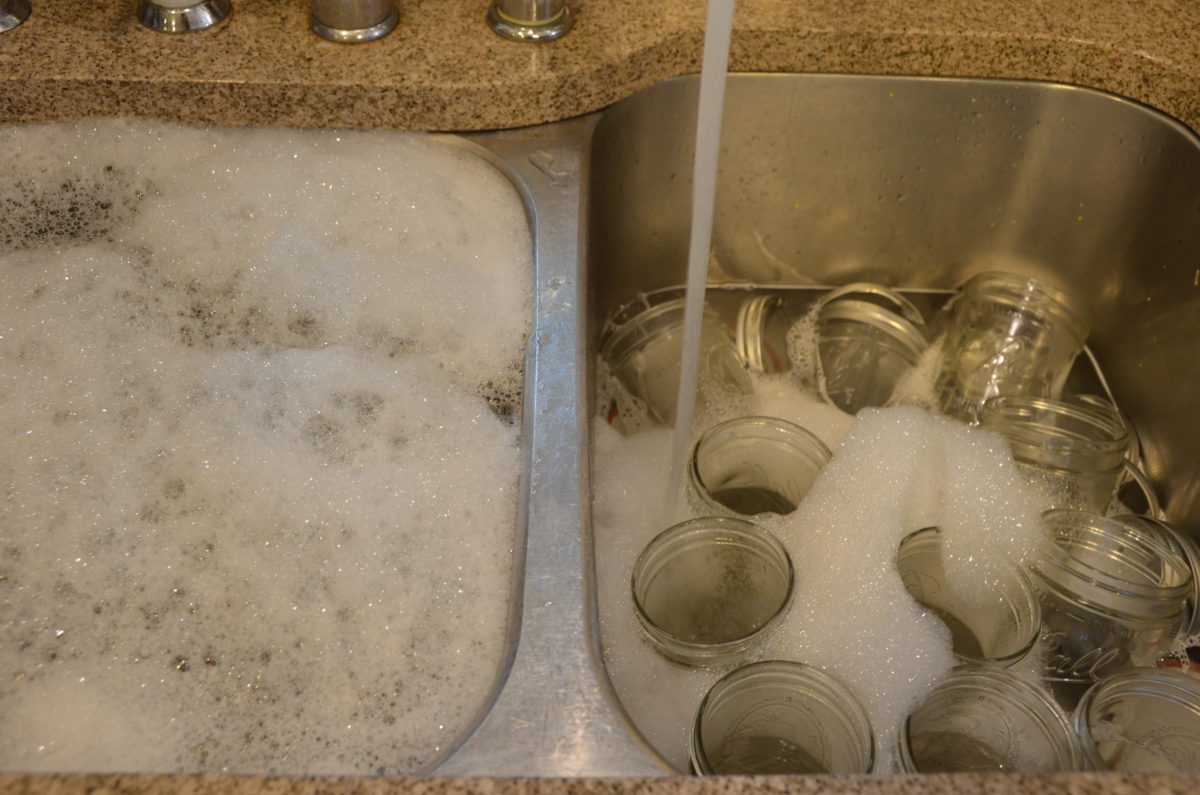
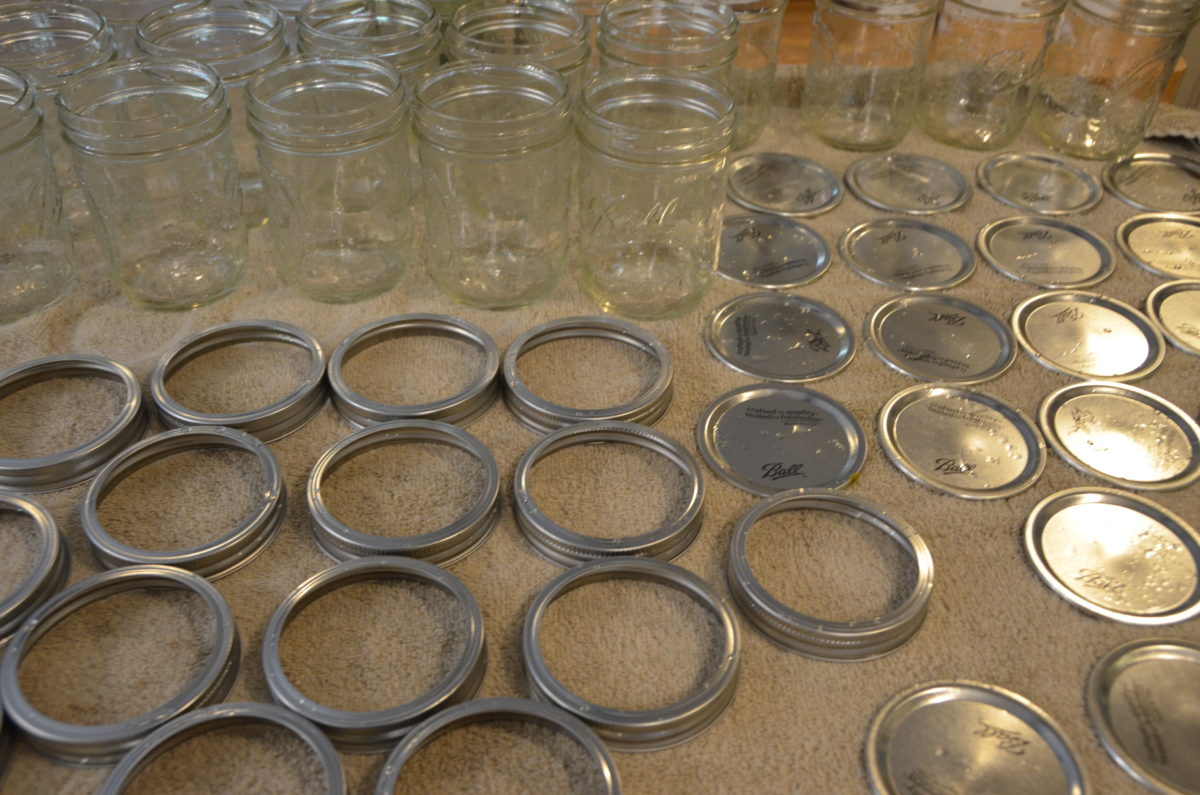
First…wash your new jars in hot, soapy water!
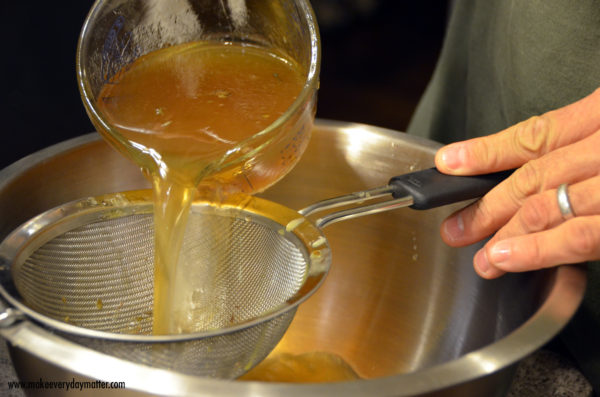
| Prep Time | 1 hour |
| Cook Time | 48-72 hours |
| Passive Time | 48-72 hours |
| Servings |
6oz
|
- 5 pounds Lamb Bones Joint & Marrow bones
- 3 pounds Lamb necks
- 1/2 cup Apple Cider Vinegar unpasteurized is best
- 1 bunch Parsley Whatever kind you prefer- I use flat leaf
- 1 bunch Thyme
- 1 pound Carrots Full size with greens on preferably
- 1 pound Celery Full size with greens on preferably
- 1 large Onion Quartered
- water Filtered of course!
Ingredients
|

|
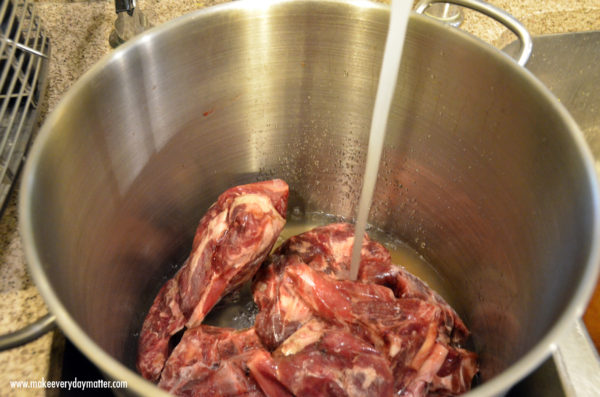
- Put the bones in a large stock pot, add the vinegar then fill the pot with water until the bones are just covered. Soak for 1 hour. This step helps draw the nutrients from the bones. I start with frozen bones but you can thaw them first, especially if you plan to roast them {that makes a darker stock with a more roasted flavor}
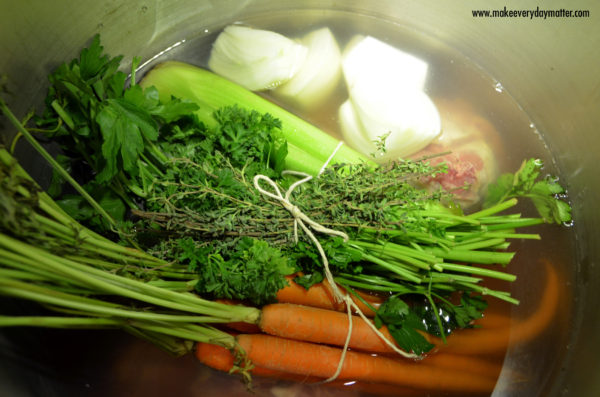
- Add carrots, celery, onions and half of the parsley & thyme (I like to tie my herbs in a bundle with cooking twine) and fill the pot 2" from the top.
- Cover and bring to a boil and allow to continue for 5 minutes then turn heat down to simmer and remove lid. Remove the foamy "scum" by skimming the top of the liquid and discard.
- Cover and allow to simmer for 12 hours. It should not be boiling.
- Add the other 1/2 of the herbs and bring the water level back up to 2" below the rim.
- Cover and allow the stock to simmer for up to a total of 72 hours (including the initial 12 hours). The longer it cooks the better it is. Be sure to check the water level every 6-12 hours and add more to bring it back up to 2" from the rim with the final addition of water not being any later than 6 hours before completion.
- Remove from heat and allow stock to cool down until luke warm.
- Remove bones, meat, herbs and vegetables and discard or do as you wish with them.
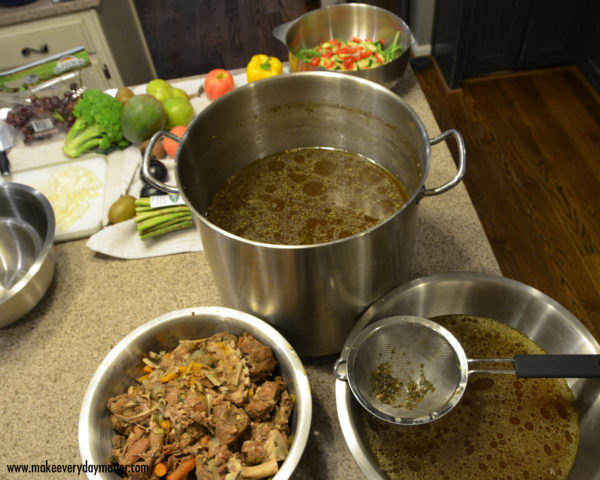
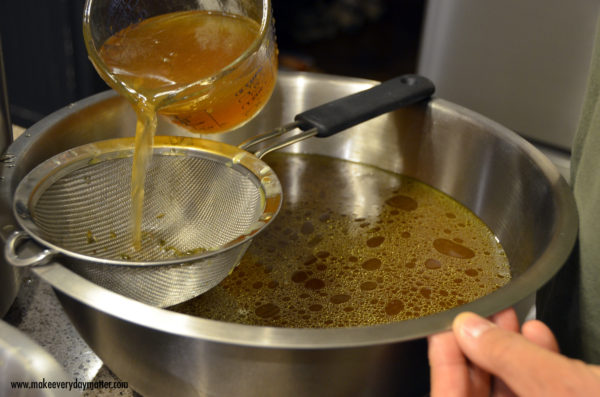
- Strain the liquid in to large bowls and put bowls in the fridge to cool completely.
- The fat will rise to the top. You can remove it or add a bit to each jar. I happen to like some of that good fat although the lamb yields less fat than beef.
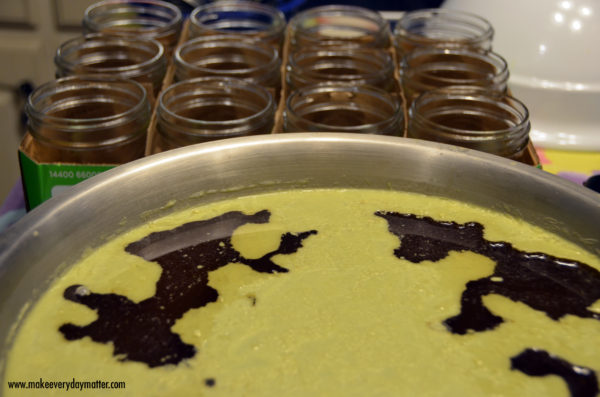
- Fill each jar to within 1/2-1/4" of the fill line. Follow "storage" notes below depending on your preferred method.
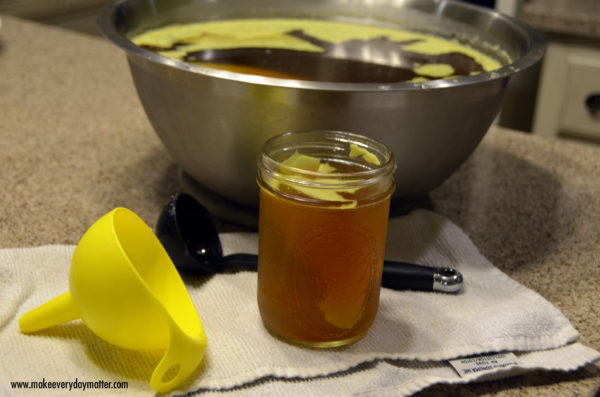
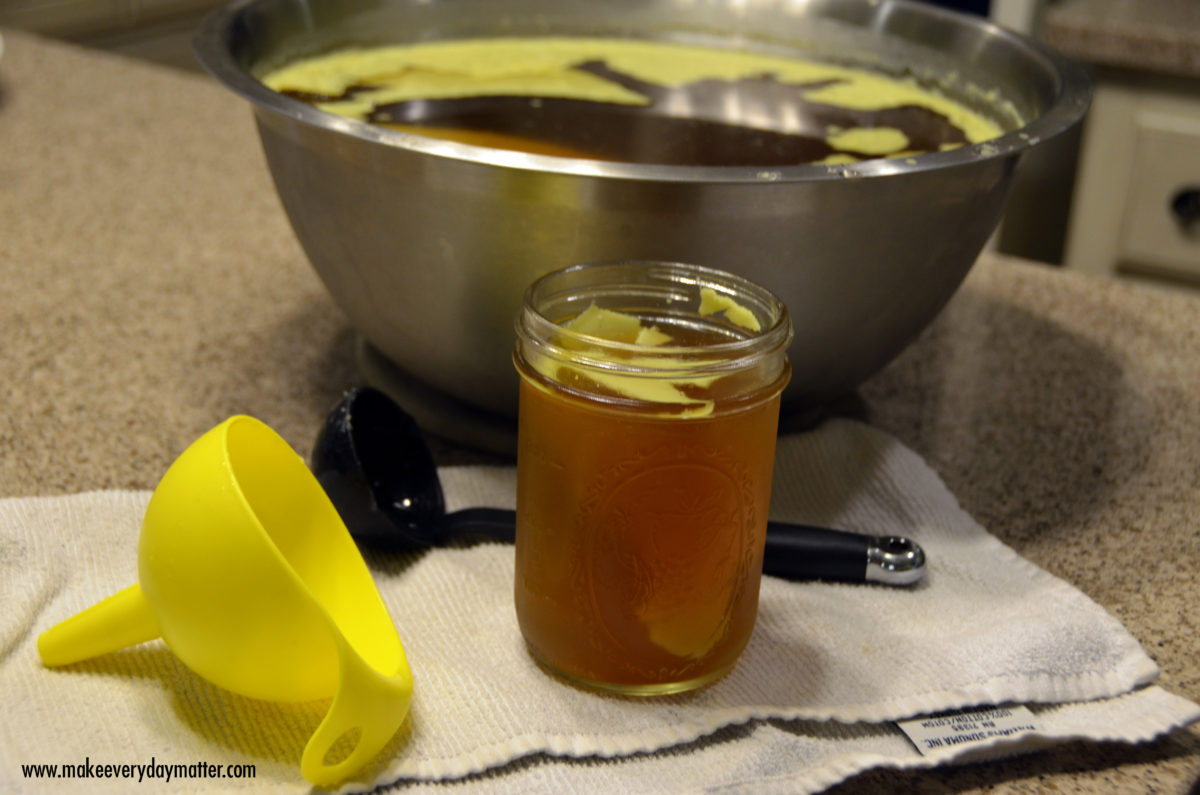
Storage. This is up to you. You can do traditional canning methods for shelf stable storage or you can freeze in zip lock bags or mason jars. I’ll go over the basics of storing in mason jars but please know you can find a lot of great information online if you really want to study up. You will want to purchase FREEZER SAFE WIDE MOUTH mason jars (these are thicker and have no “shoulder” which cracks when the liquid freezes/expands).I prefer the Ball brand. Fill each one with the stock until about ¼” below the freezer fill line. Return to the fridge to get cold again and do not put the lid on. After they are chilled transfer the jars to the freezer and again do NOT put the lid on. Let them freeze solid (approx. 18 hours) and then put the lid on. They will be nice and happy in the freezer for up to 6 months.
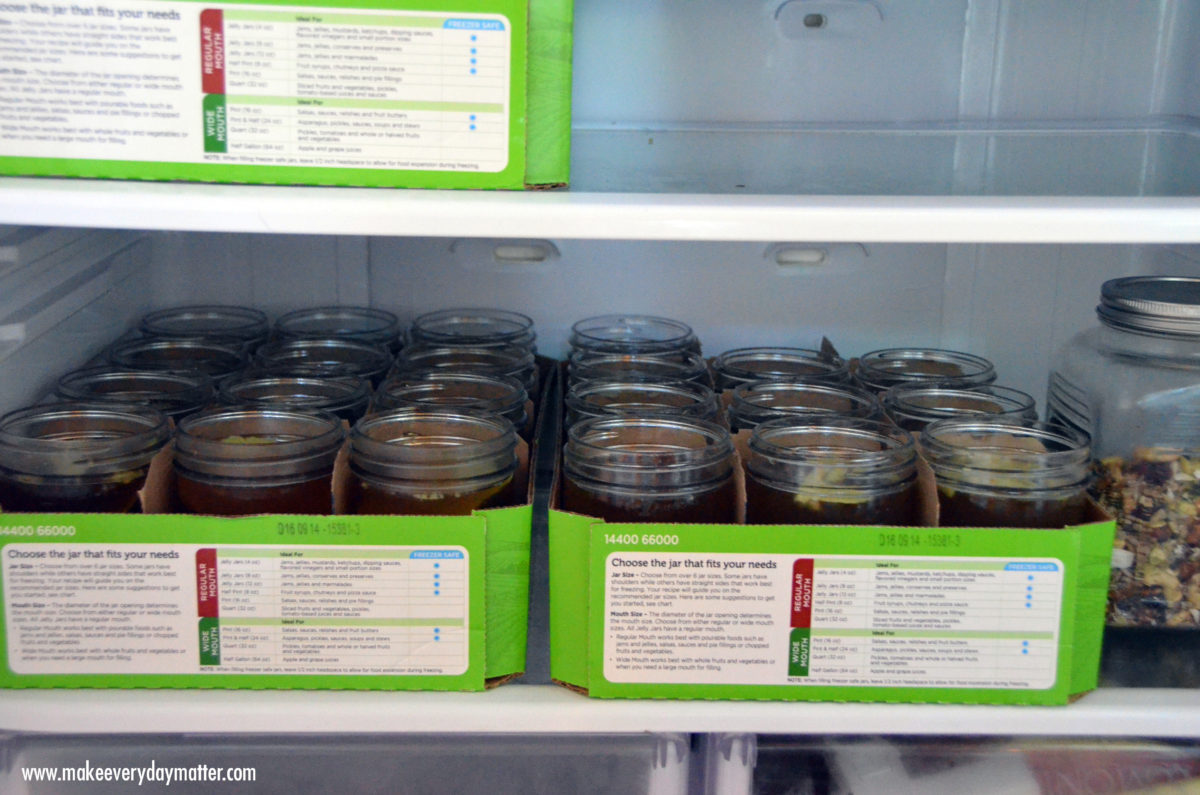
To thaw, simply take out of the freezer 24 hours before use and set in the fridge. If still slightly frozen a few hours before use, place the jar in a bath of warm water. The goal here is to not shock the frozen glass. If you plan your recipes out for the week I suggest going ahead and putting a few jars in the fridge to start thawing at the beginning of the week. Keep the box the mason jars came in. They are perfect for storing the jars in your fridge or freezer. I’ve heard people say that the jars can crack if put at the bottom of the deep freezer. I find that keeping them in the boxes works wonders and if you don’t have the original box you can put them in another box and use old socks as sleeves on each jar so the glass isn’t pressed against one another.
Note: If you purchase the Nourishing Traditions book you will notice I do not follow the recipe exactly. I don’t roast the bones first, etc. I am perfectly thrilled with how the stock comes out with this more simplified approach but do whatever works for ya!
Let me know how you use stock, or if this is your first time, share your experience!
The recipes, stories and photography on my blog take a lot of testing and time and I do appreciate it if you use them that you give proper credit and link back to my blog. If you make changes to something I created, it’s still a nice gesture to link back to my blog and mention where it originated from. If you ever have any questions about sharing content, don’t hesitate to contact me! thanks ya’ll…happy sharing!

Thank you for sharing this recipe!
Blessings to you and your homestead!
Absolutely… perfect time of year to make pots of stock! Blessings to you!
Can this be made using a crockpot instead of on the stove?
Absolutely… although I would do the soaking in ACV and the first boil on the stove if you can then let it simmer in crockpot as long as you’d like. But if not it will still turn out lovely! Use what works best for you!