Yep, you heard me right, “Mudrooms are for mud and poop”… literal poop and all the other stuff I deem as “crap” such as the piles of shoes that apparently aren’t so easy to put on the shelves when people take them off…, jackets that are too difficult to actually hang up, the dirty towels left on the floor from wiping doggie paws, empty boxes that are apparently too hard to put outside next to the garbage can, paint cans that never make their way down to the shop even though someone goes down there multiple times per day to care for the chickens…etc.… OK… RANT OVER!
I really have no idea how we made it through the first 17 years of raising kids without a mudroom {or even a closet} with all the jackets, shoes, backpacks, lunchboxes, school papers, etc. that needed a space to be dumped… I got so tired of the back staircase of our old house being a dangerous obstacle course to climb because that is where the above items would find themselves.
When we moved and planned the renovation there was no mudroom happening because we were not increasing the square footage at the kitchen end of the house. That was a bummer, but I had lived this long without one… I figured at least I was getting a walk~in pantry/laundry {which I had also neve had} so I just had to count my blessing. Then, low and behold as the termite damage was discovered and we had to tear out the carport slab we decided that instead of keeping a carport we would double the size of the kitchen, give me a fabulous office and a MUDROOM… it wasn’t going to be the big one I dreamed of but it would be a mudroom none the less and for that I was grateful!
I know many people have mudrooms because they have become trendy and look more beautiful in many HGTV shows than my entire house… but people… if you haven’t lived in the country then you really don’t understand the true NEED for a mudroom. It is MUDDY and rains A LOT and we are back and forth to the chicken coop a few times a day and since our girls quite often free range you can be sure you’ve stepped in chicken POOP and brought it in the house! So, ALL SHOES COME OFF when you walk in our side door! I will chase you down and bop you on the rear end if you bring your shoes through the house!
Ok, so let’s move on to how this room came together! The original design appeared to have room for a small doggie bath {because yes, the dog tracks in the same mud and poop and since her fur is like Velcro, you can be sure she is carrying in leaves and moss and sticks too!}. As we started framing and needing to take some things in to consideration for the office space and access to the back yard, we needed to scale back on the size and opted to have hot/cold faucets run outside with a drain, so we could install a trough to give pooch a bath. {The mudroom is the small framed in area in the middle of this picture}
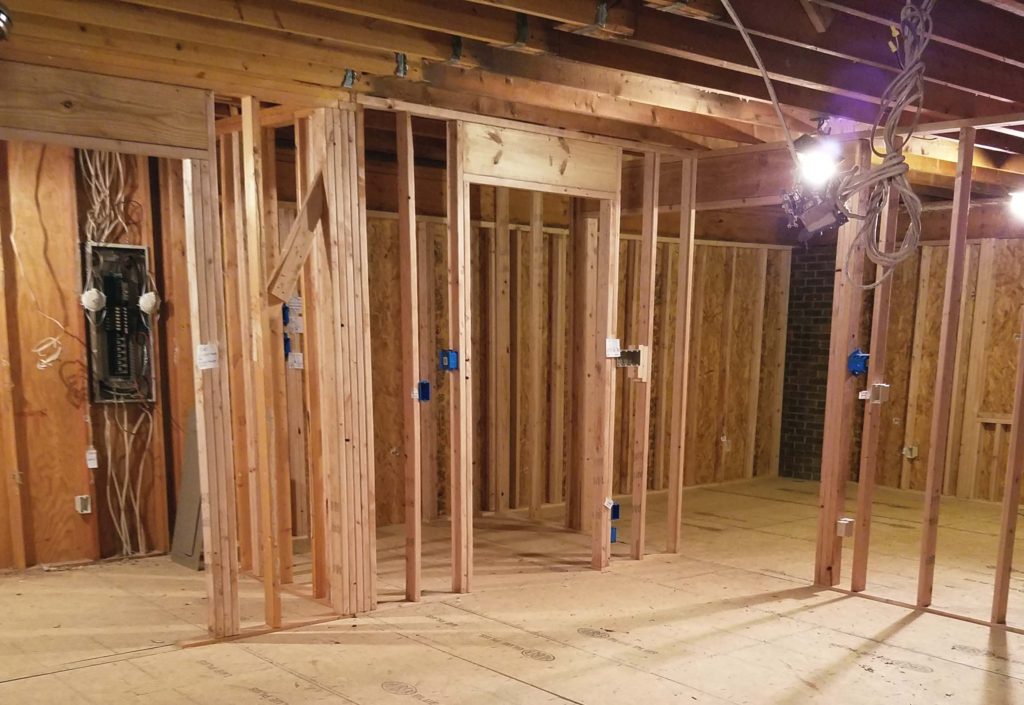
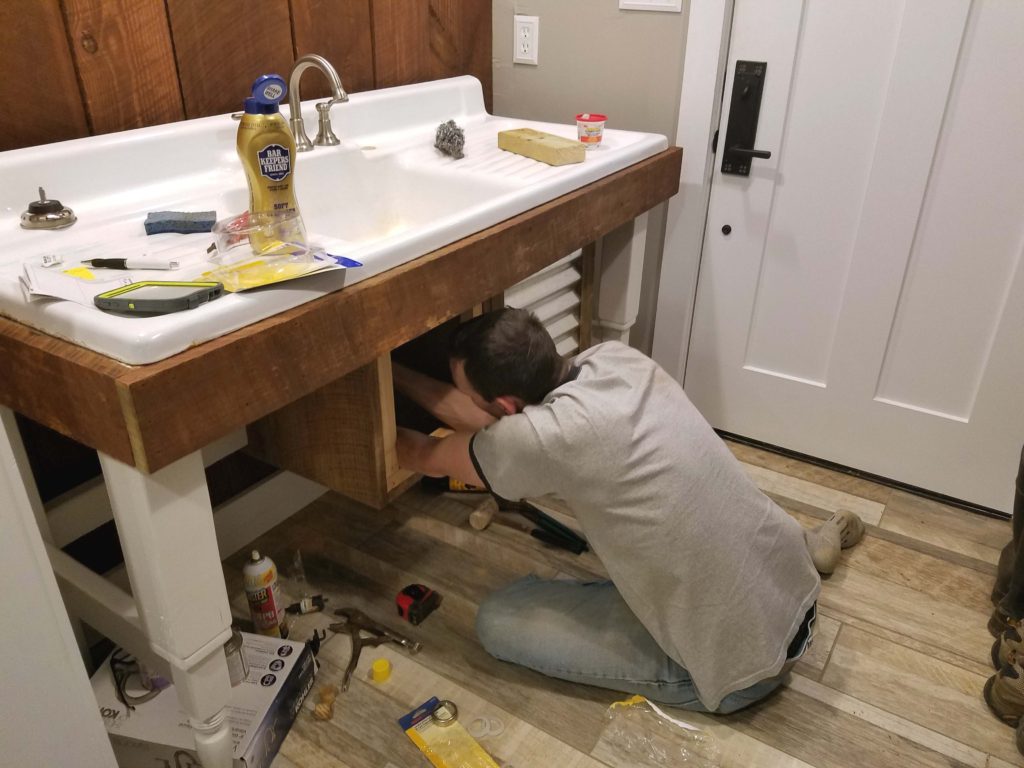
We ended up with one side of the door about 18” deep to accommodate a place for shoes & jackets and the other side about 24” deep to accommodate a deep sink. Not long after the framing came together we stumbled upon the jackpot at the old barn we bought with one of the found treasures being an old sink from the canning shed! We knew, even though it was HUGE, that we just had to give this old beauty a makeover and place her where she could have a purpose again. {She was so old and dirty and scratched up, but hubby did an amazing job cleaning her up}
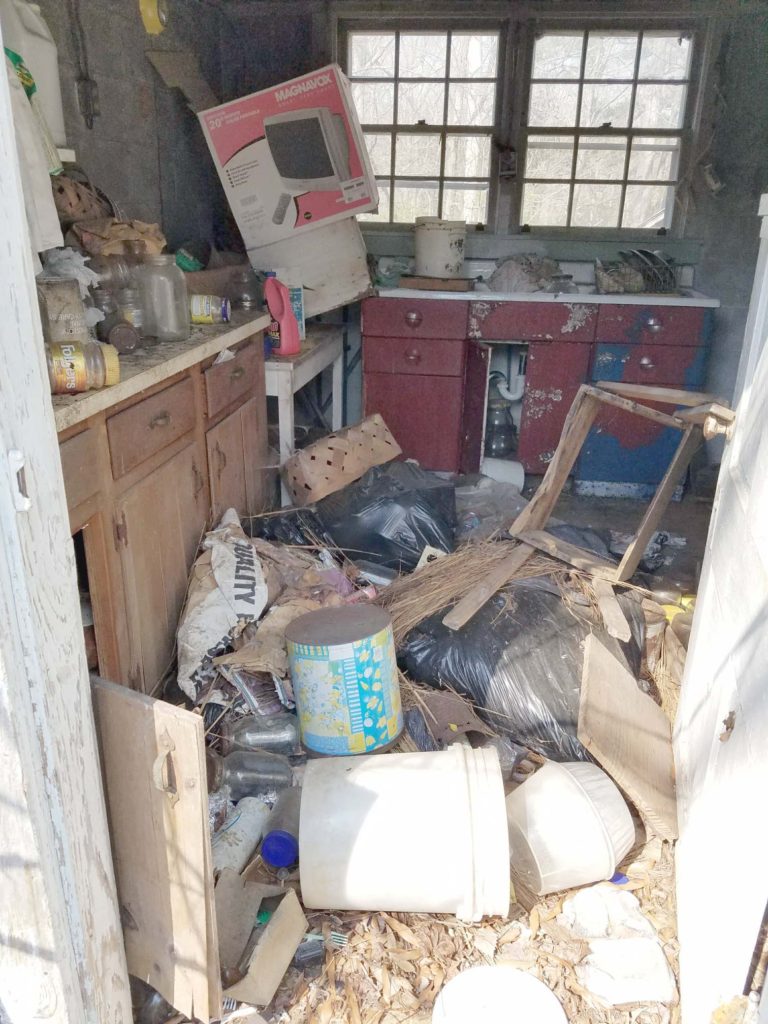
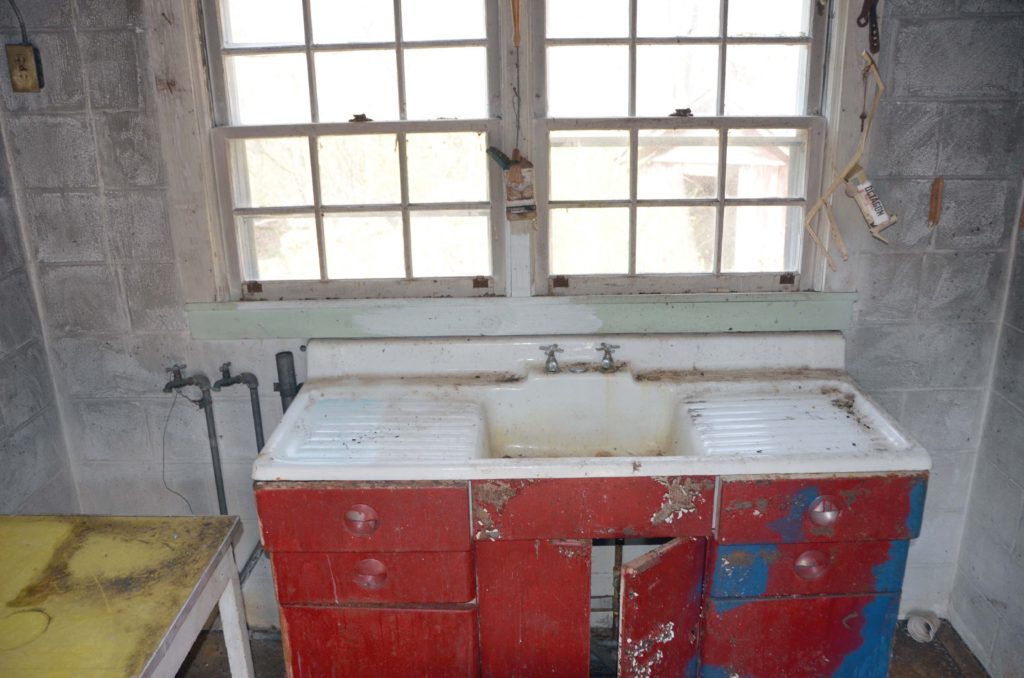
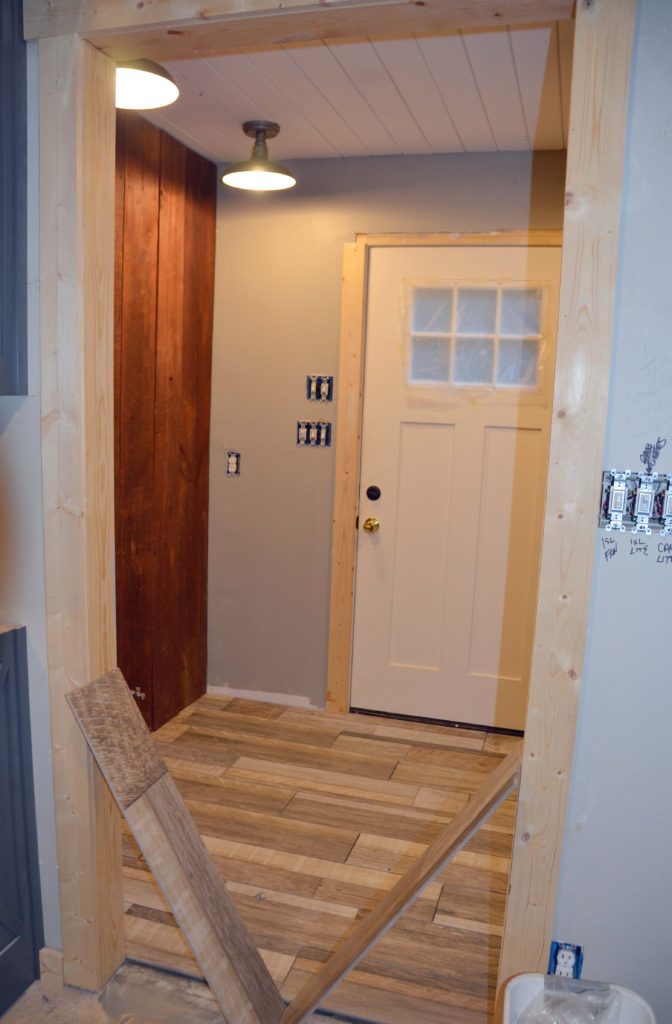
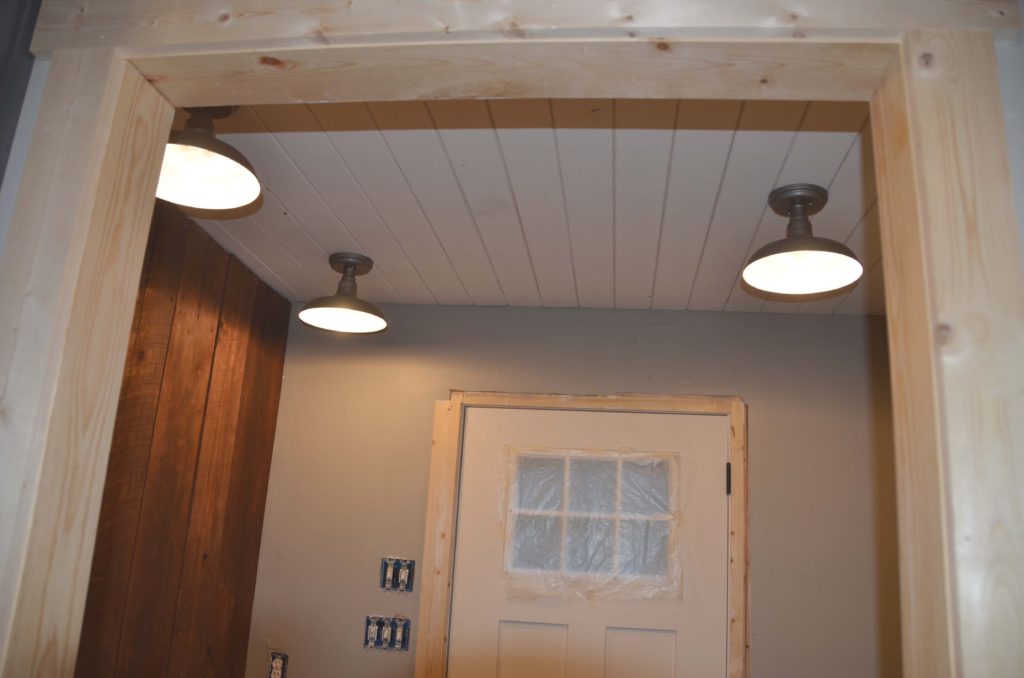
Ok, back to the next steps on building out our MUDROOM. Did I mention I was getting a MUDROOM??? We decided to keep with the same design elements we used in the pantry, kids bath and master bath. Same tile, paint color and lighting but with tongue & groove on the ceiling and some beautiful wood from the barn on the wall where the new sink would be standing in all her glory! The door we installed was the same {as well as the hardware} that we selected for the front door to keep the look streamlined.
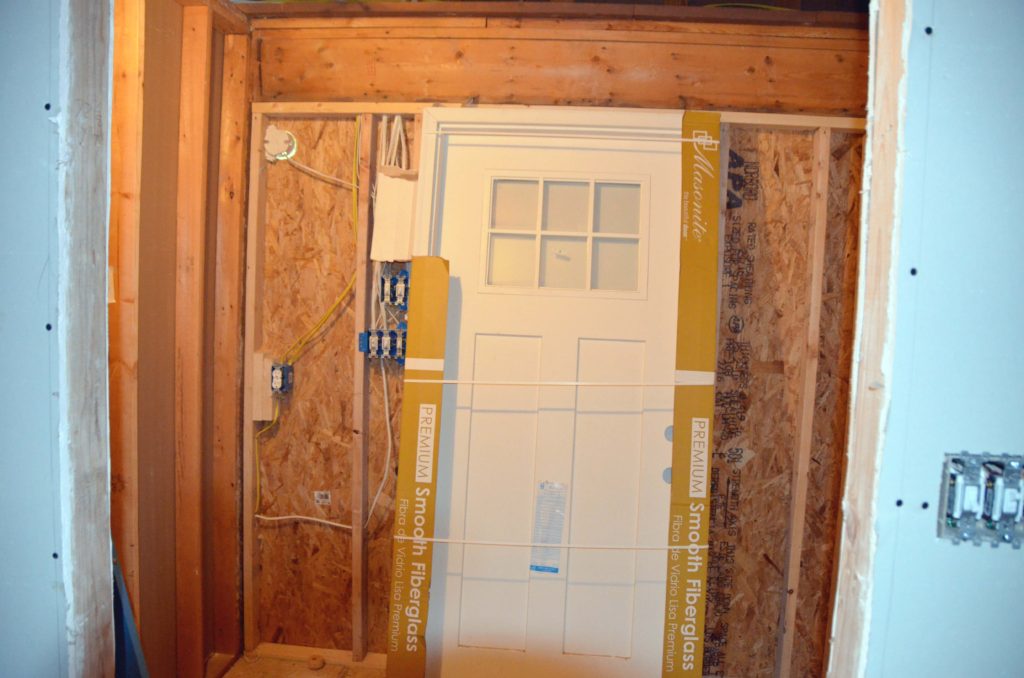
{have I mentioned yet just how much we HATE drywall…. like loath it!!!!!!!!!!!!!!!!!!!!!!!!!!}
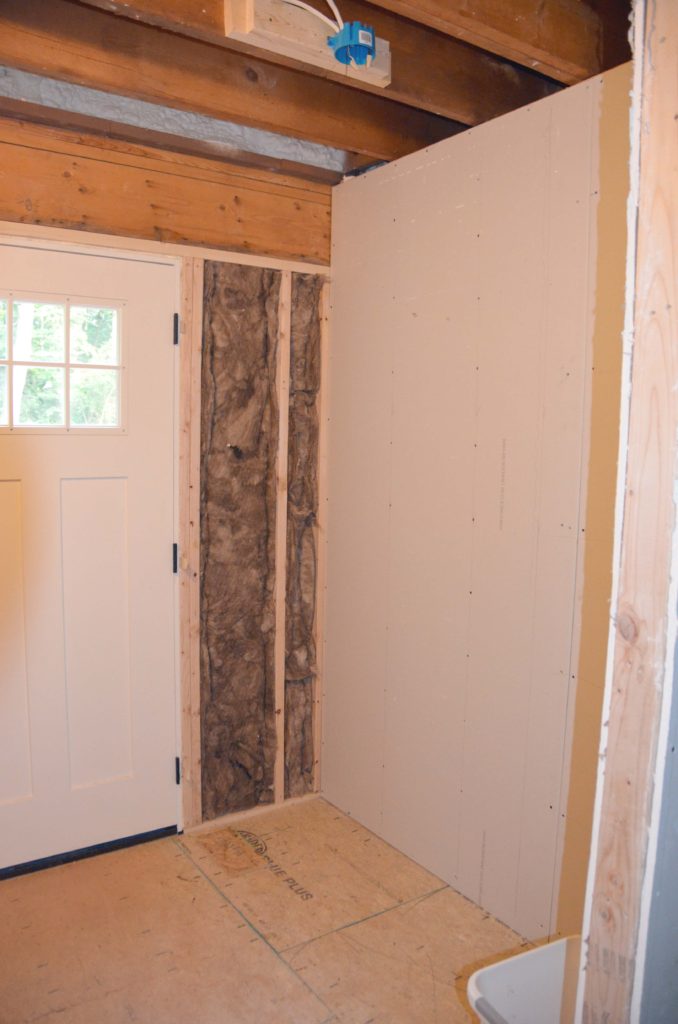
{sorry about the picture quality… not easy to get good pics when working with temporary lighting!}
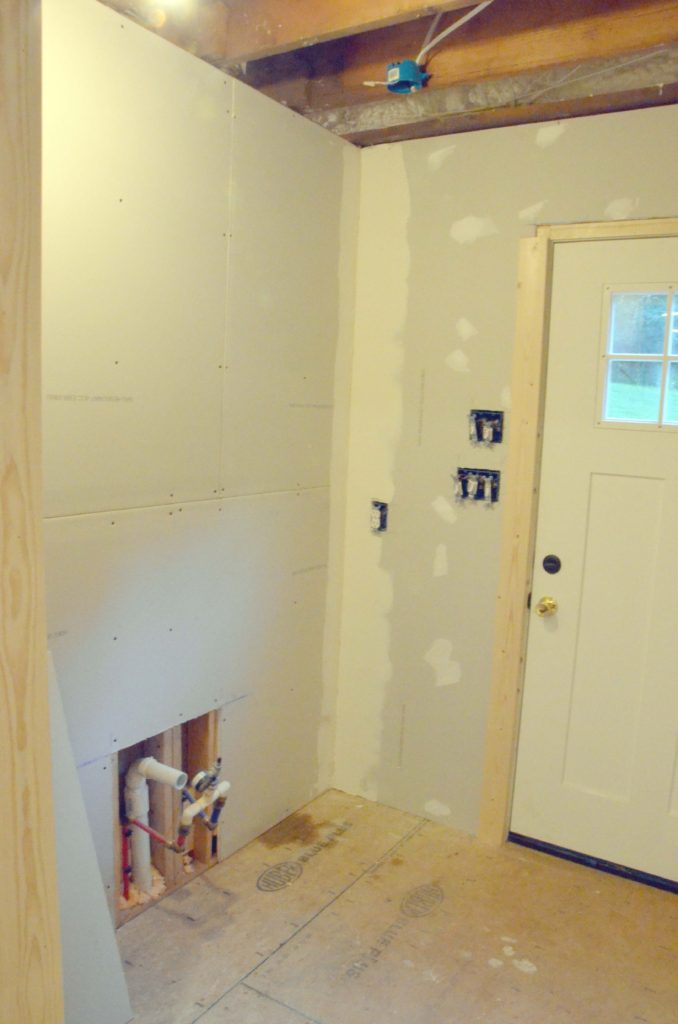
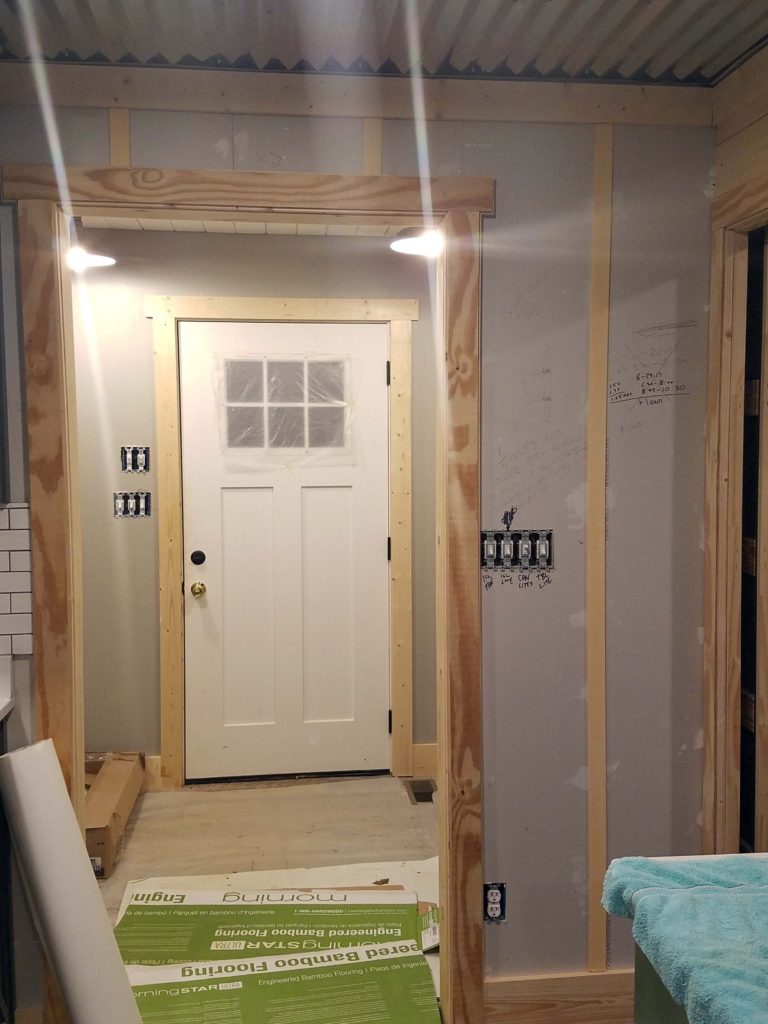
{This is the glorious day it started to really look like a room!}
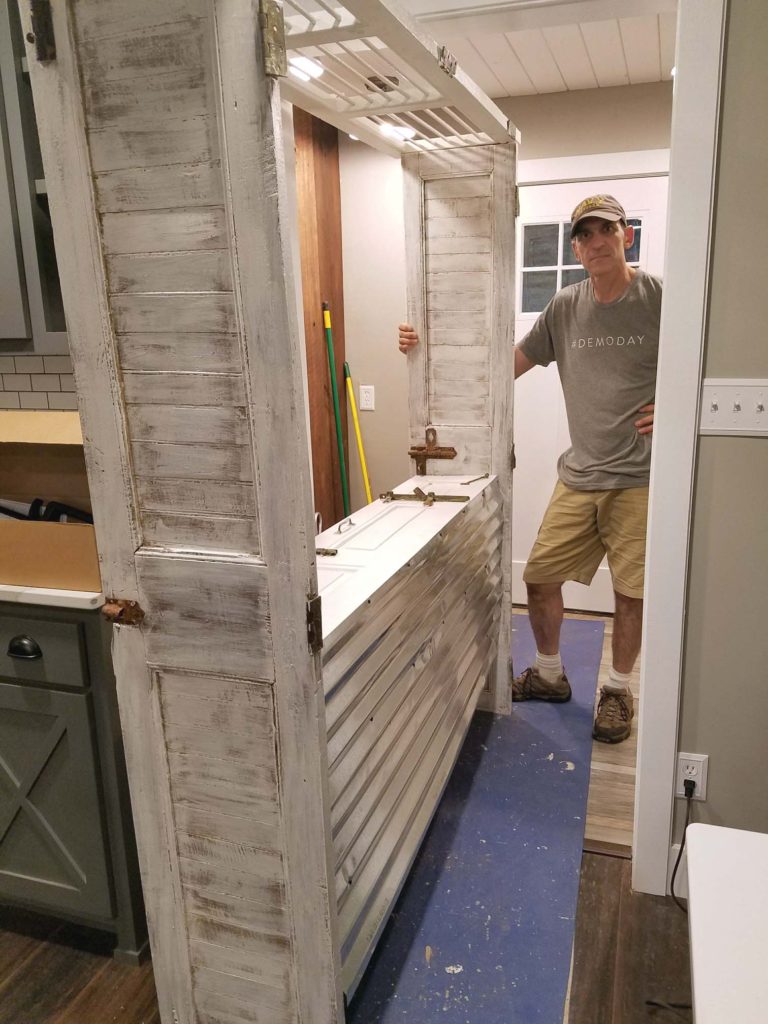
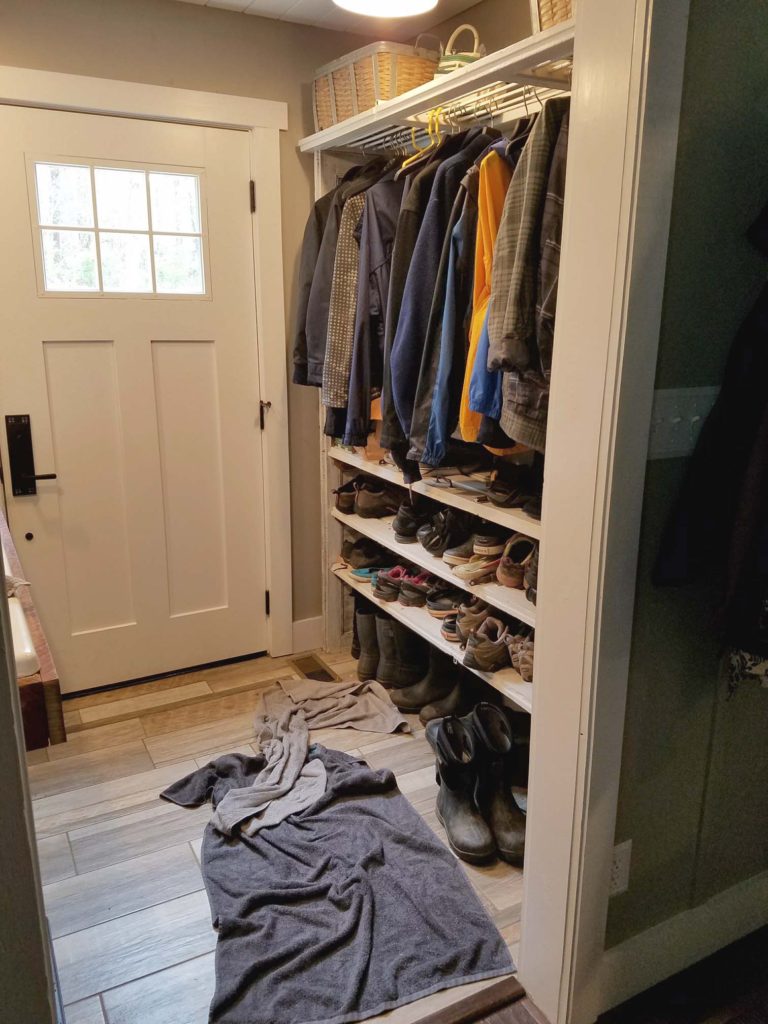
During the framing process I had sketched out the perfect built~in’s for the narrow side… oh, they were going to be SO pretty and match the kitchen design… but, once again, those termites sucked away so much of the budget that we had to forgo that and just didn’t focus on shelving for a while although we had started to ponder some ideas using all the pallet wood we had. THEN, hubby and I went “junking” at an amazing salvage place in NC about 1.5 hours away. As we walked around and saw the unbelievable display of unique teak doors from India… I had an idea… an amazing, Pinterest worthy idea! {hubby is bracing himself and calculating what all was going to be required of him to bring this idea I had to life} Build the shoe & jacket rack out of these old unique doors! So, we spent a looooong time sifting through the amazing variety of designs and settled on 8 of them. 6 for the mudroom and 2 to build a fireplace mantel {that was a bonus add on idea as hubby rolled his eyes!}. It turned out to be ½ the cost of the built in’s but of course would require a lot of sweat equity to cut, restore, paint, assemble and install them! I did love all the unique colors and the worn paint they currently had; however, it really wouldn’t mesh with the simple gray & white color scheme throughout the house, so I painted them with my favorite Sherwin Williams white paint: Origami! The old hardware was so cool looking that we figured we might as well just leave it on to keep some of the character.
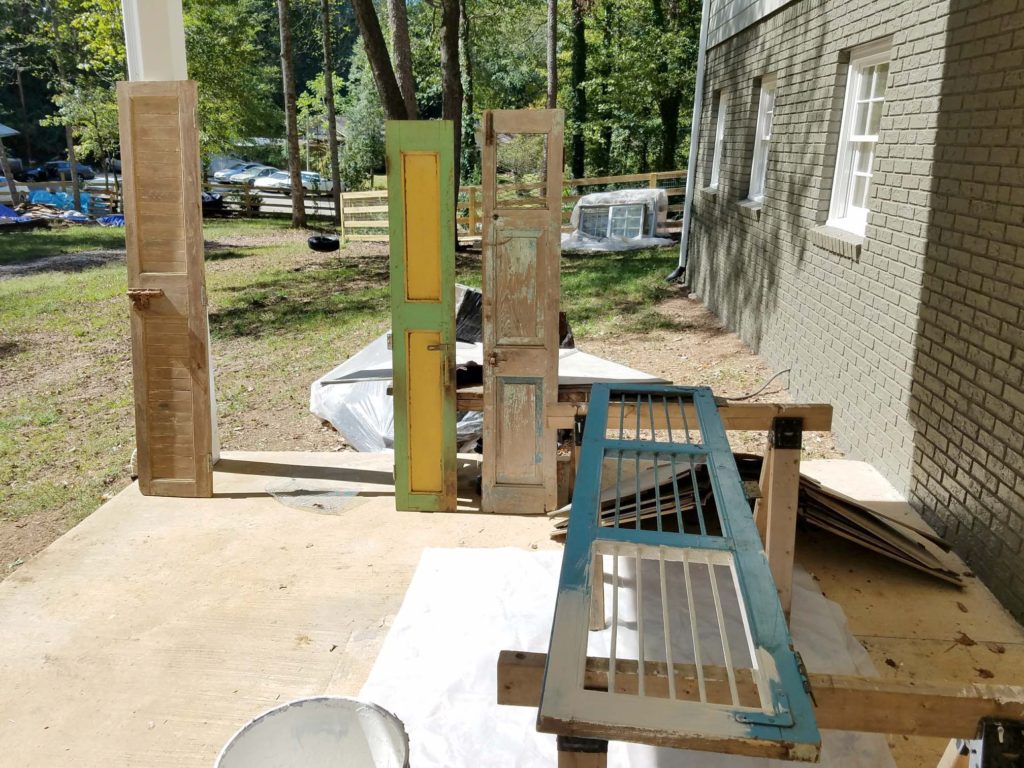
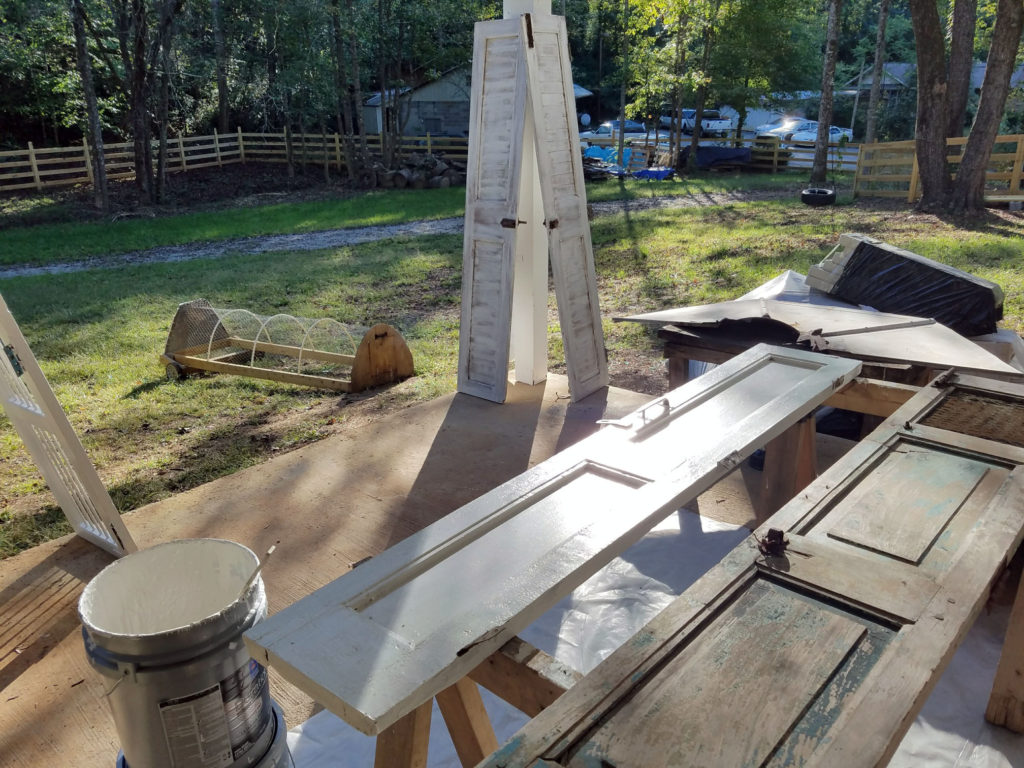
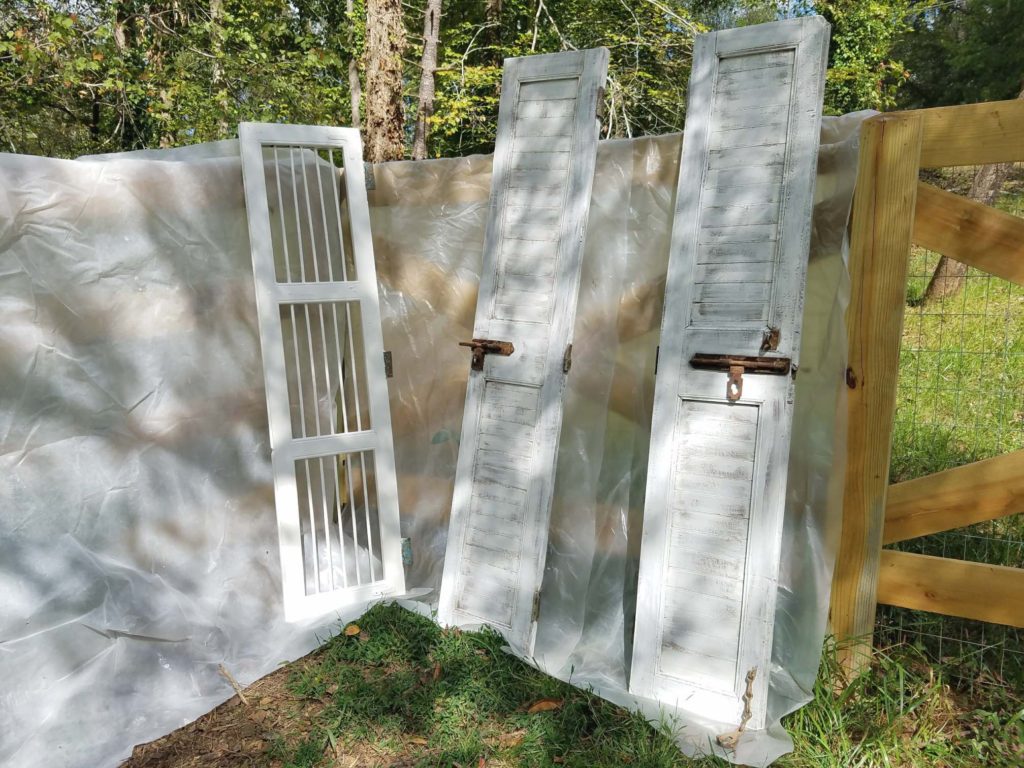
{How thrilled does hubby look to be building this?… it was only my 150th thing I told him I wanted him to build for me!}
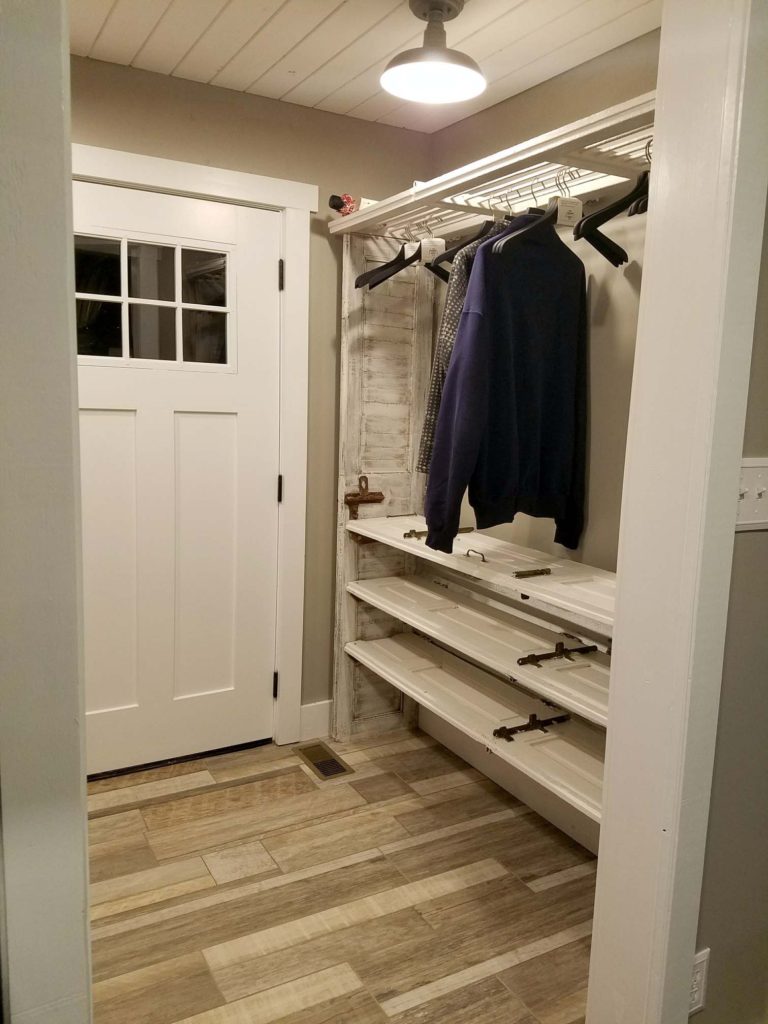
Next was deciding on the design for the old farm sink to sit in. I wanted to use some of the salvaged barn wood but also wanted some new wood which came in the form of the front legs we bought at Home Depot. I chose the same Origami paint and we did the backsplash out of the corrugated aluminum to match the back of the shoe rack and the kitchen ceiling. It’s inexpensive, easy to work with, durable and looks cool! Our talented friend, Michael, took the sink to his barn, along with my sketch, to build out the frame for us and paint it. I love the little cabinet he added to the bottom to cover the plumbing and give us a little extra hidden storage. Gotta give a shout out to hubby for his excellent plumbing skills {all without showing us plumbers “crack”}
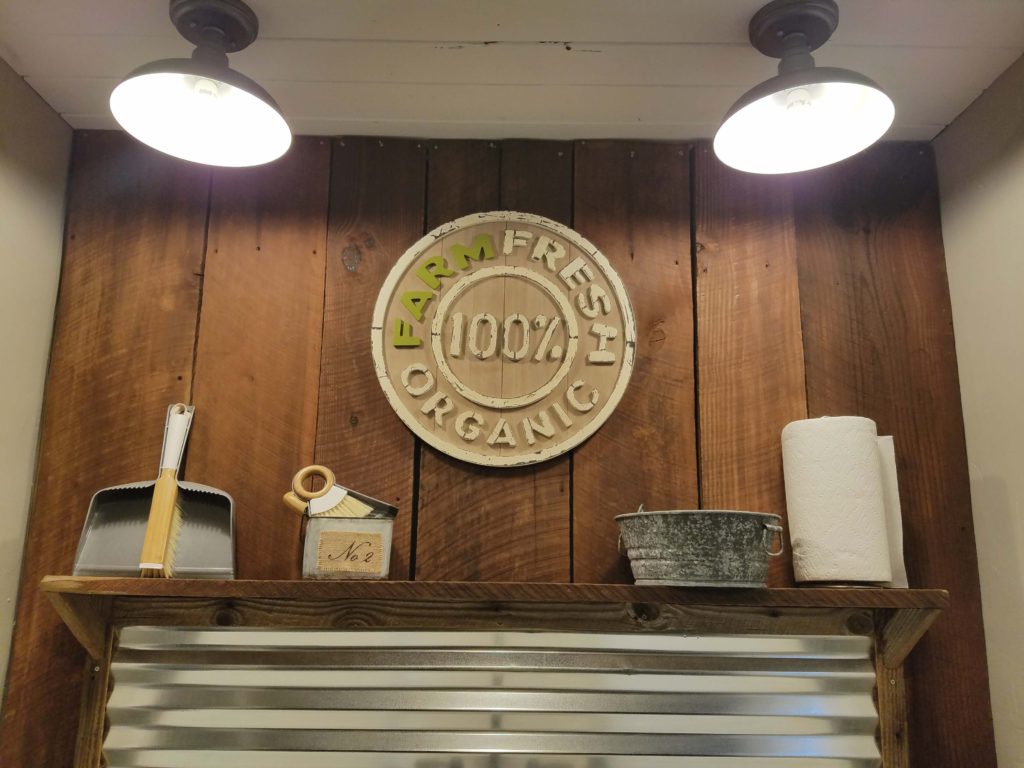
I adore the wooden sign I found at Michaels Craft store, however I didn’t like that it had red accent painting on the word “Farm” so it just took a few minutes of patience and green paint to change that to match the kitchen island.
And of course the first thing to adorn the sink was my doTERRA foaming hand wash!
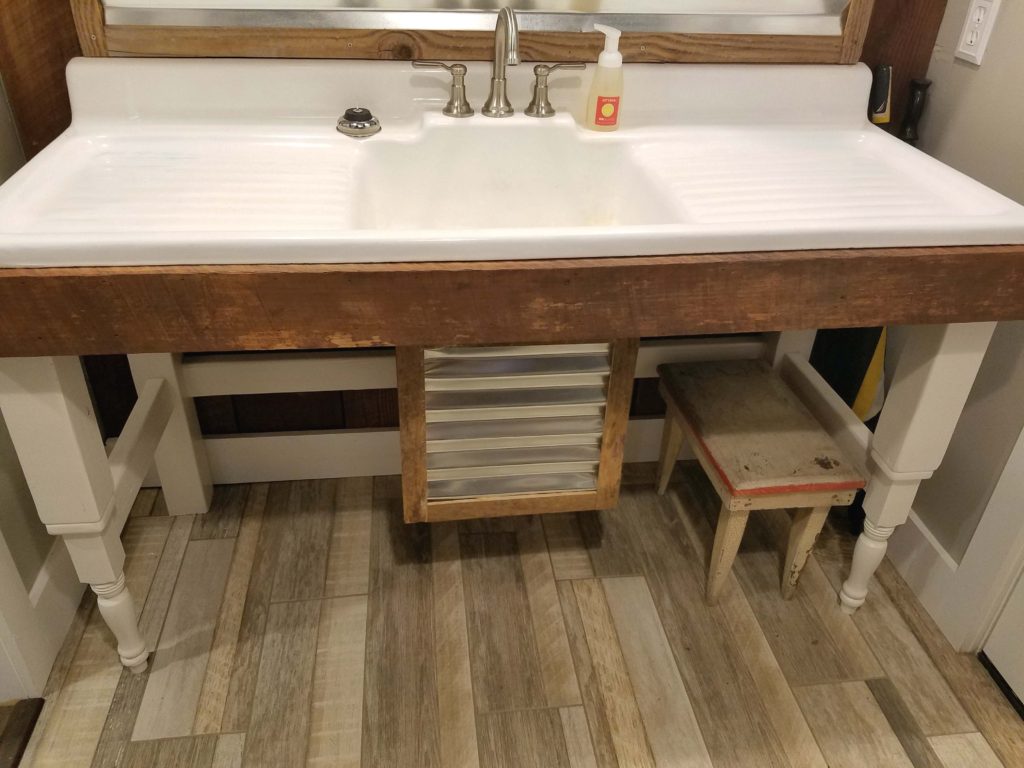
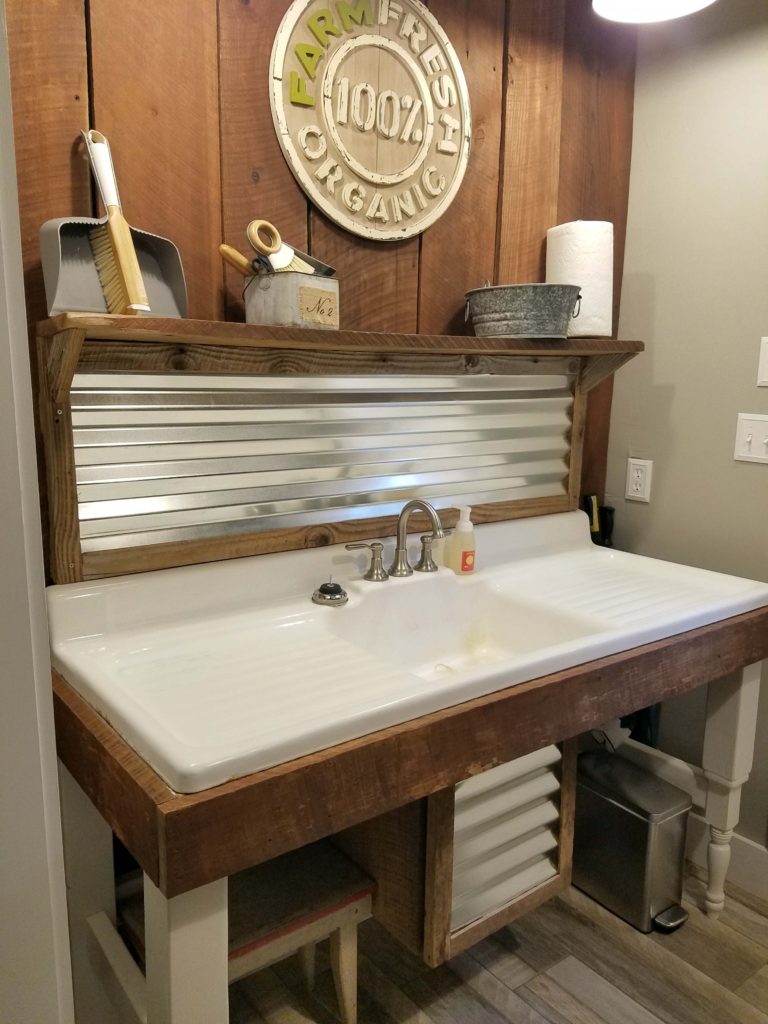
So, there you have it… our mudroom! I am in love. It may be on the small side and can’t fit more than 2 people at a time when we all come home, but it’s functional and until we win the lottery this will happily be it!
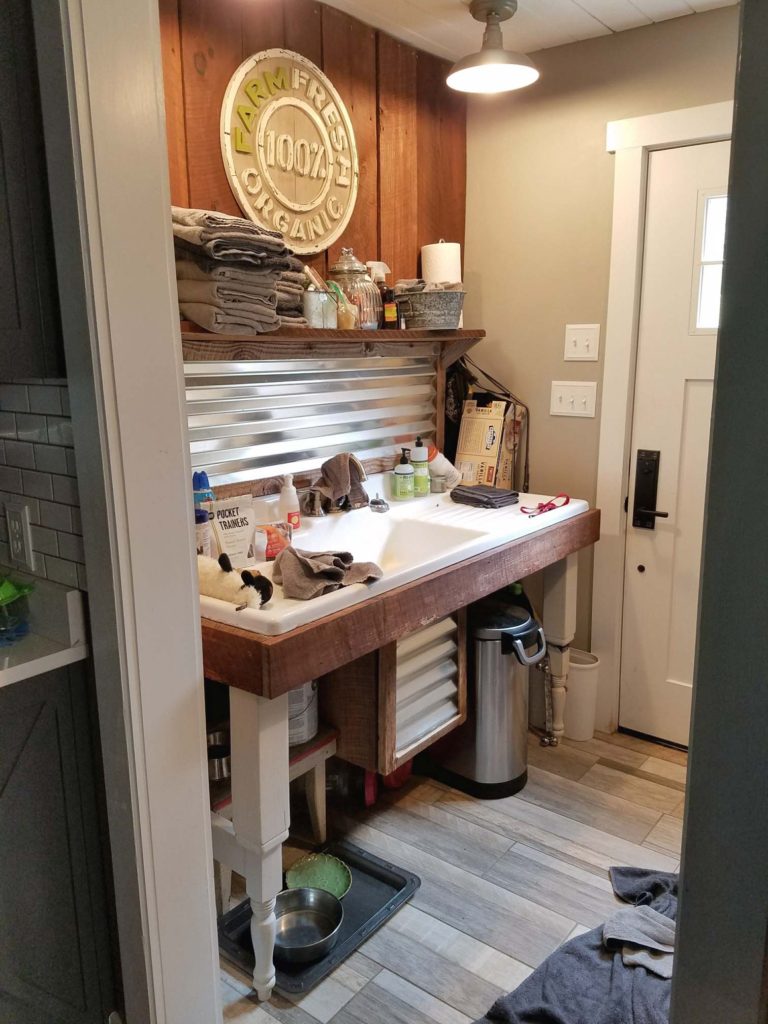
And in keeping with being authentic, I’d also like to show you what the mudroom really looks like on any given day, so I just randomly snapped two raw pics to show you. {The only reason it’s not more of the usual disaster is because 2 out of the 5 of us are out of town as I wrote this!}

Leave a Reply