I should probably just stay off of FaceBook & Instagram pages that have to do with farming and stop watching any YouTube channels that have to do with farming. You see, the problem is that all of a sudden you need something that you had no idea you needed! I have that EXACT same problem when I go to Hobby Lobby! I go in for 1 thing and then all of a sudden, my basket is full of stuff I didn’t know I needed {please tell me I’m not alone, friends!}…
So, the story goes…there was a small piece of our property to the right of our barn that was really just dead space and had a great amount of sun each day… so I got to thinking {which is quite dangerous}. During this time of pondering what to do with that space {God forbid we just leave it alone and take a break from projects!}, we watched some videos that featured High Tunnels from Farmers Friend, and I was intrigued. They sold BIG tunnels… like 50′ & 100′ tunnels and we ain’t got no room for that! I took a chance and sent them an email and asked if they could recommend a place to buy one of high quality, but that would fit in our space. I was super excited when they emailed back and said they could build me a custom kit… any. size. I. wanted for just a tiny additional fee! WOO HOO! That my friends is why you do business with small family run businesses !
Now it was time for the “sales pitch” to my dear husband who is flat out dead tired of projects! I had a few seriously good points to sell, one of which was that one of my friends also wanted one and we’d been brainstorming {uh oh!}. After looking at the parts lists we figured we could split a 50′ tunnel kit, sharing the plastic and rope to save additional costs and we’d both end up with a 14’w x 20′ long tunnel! This just became affordable! Once I shared this sales pitch with hubby, we watched the set-up video on the companies website and wow, did they think of EVERYTHING… every, last, detail!
My sales pitch worked and the order was placed! We got the area cleared from a few trees and had them mulch those branches smack dab in the middle of where the high tunnel was going {how’s that for smart thinking?}. Just a few weeks later it arrived in our back driveway… just in time for spring planting!
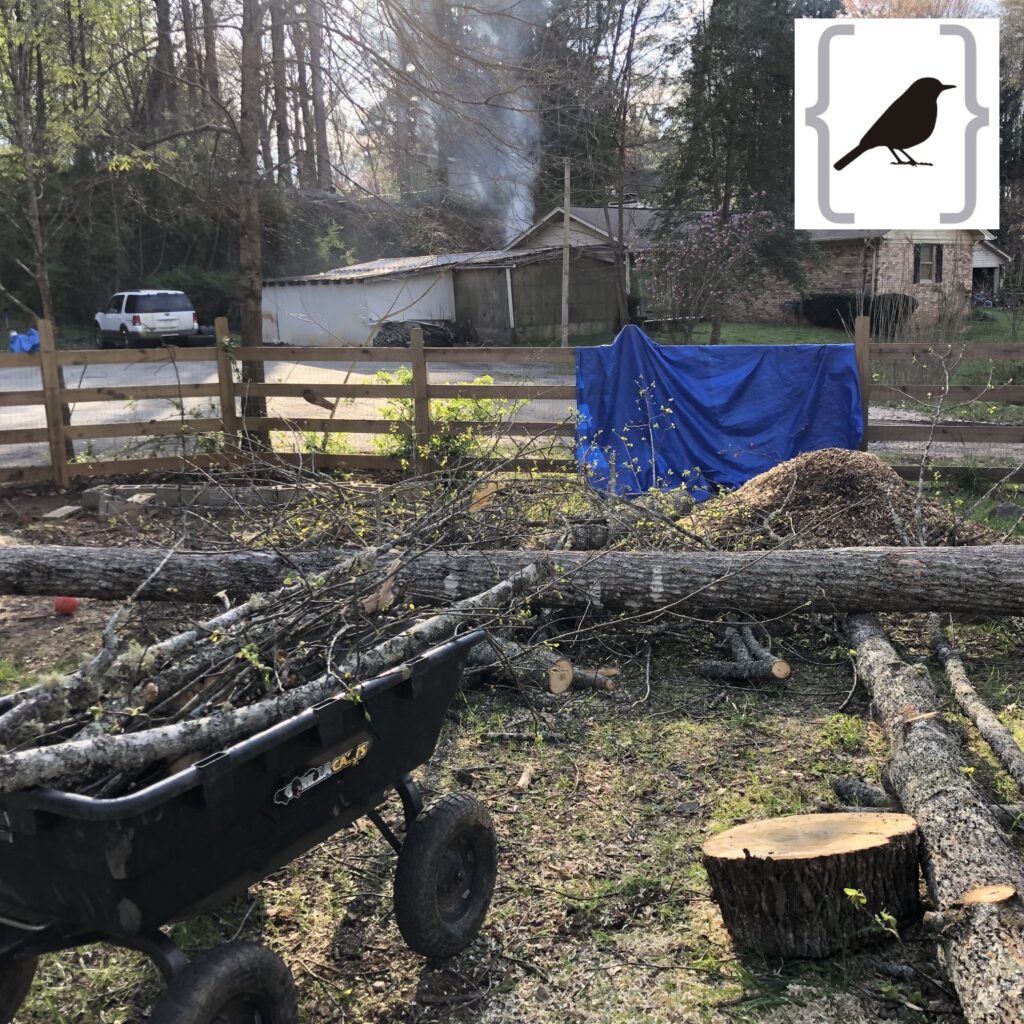
Trees came down 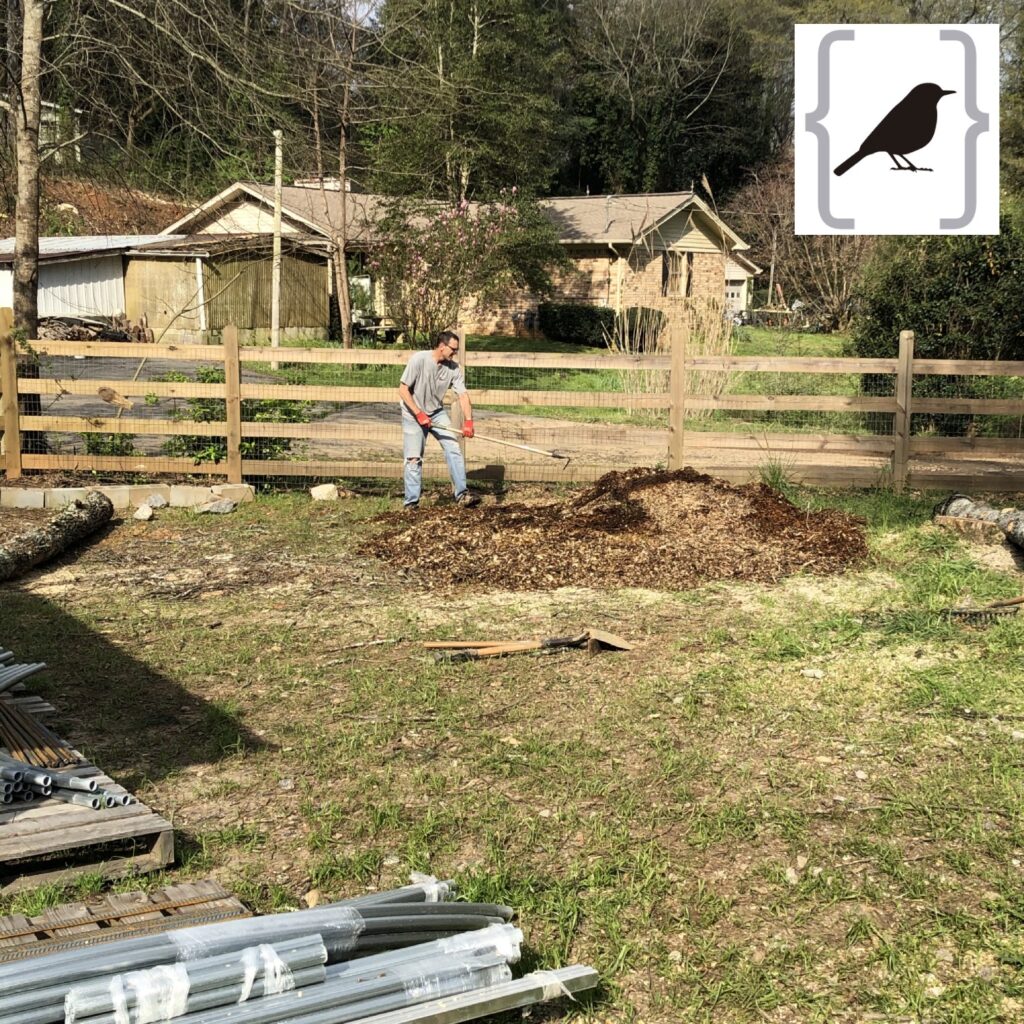
Mulch pile was spread
The next step was getting it measured out… perfectly square which isn’t quite as easy as you’d think! We had to go back to the drawing board a few times!
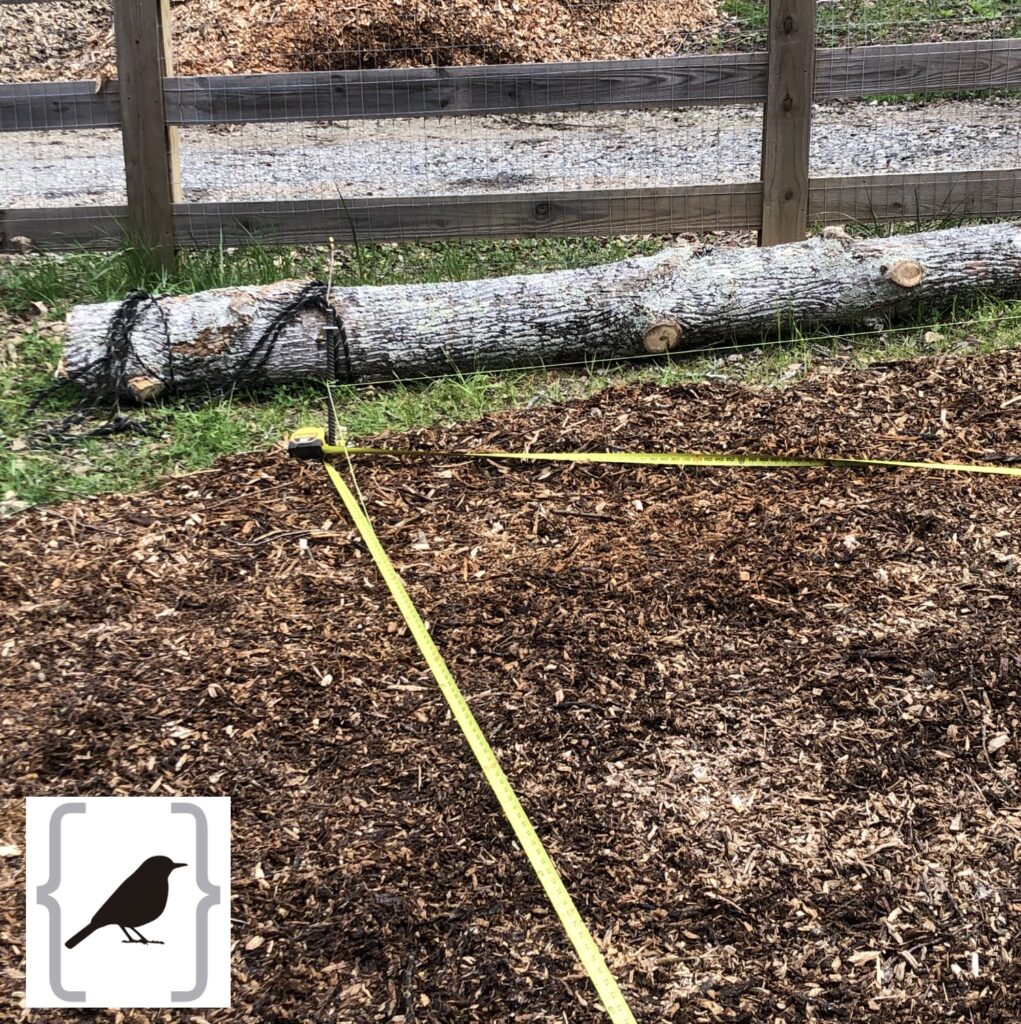
Only took 10 tries! 
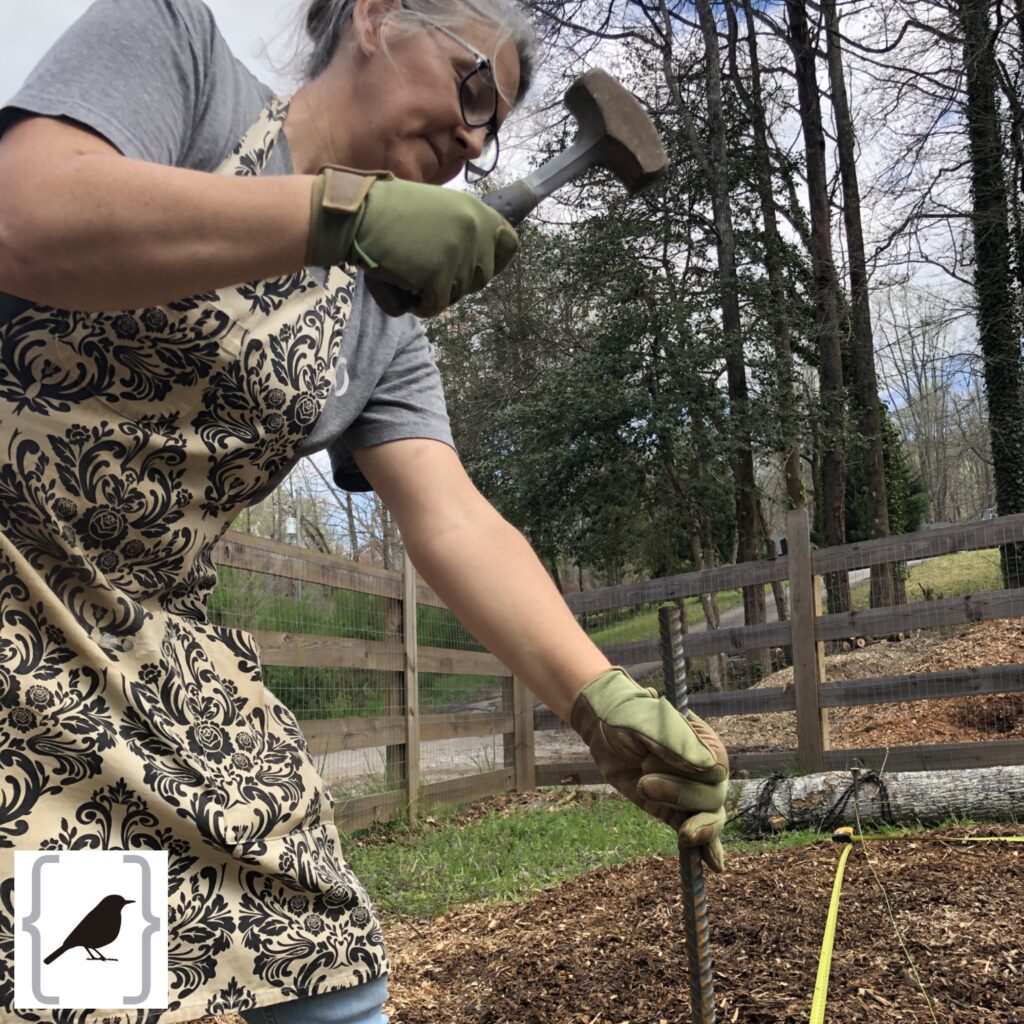
Bang that rebar in the ground!
We purchased the tunnel with the “Lift Kit” that would give us much more head room on the sides. We also got the wind kit and the solid center purlin. We really didn’t need the extra support those features offered, but we decided to opt in for all the extras! We got the bows assembled, the center purlin & wind bracing attached and dragged a teenager out of bed to help throw the plastic over the top {do that last step at your own risk!}…
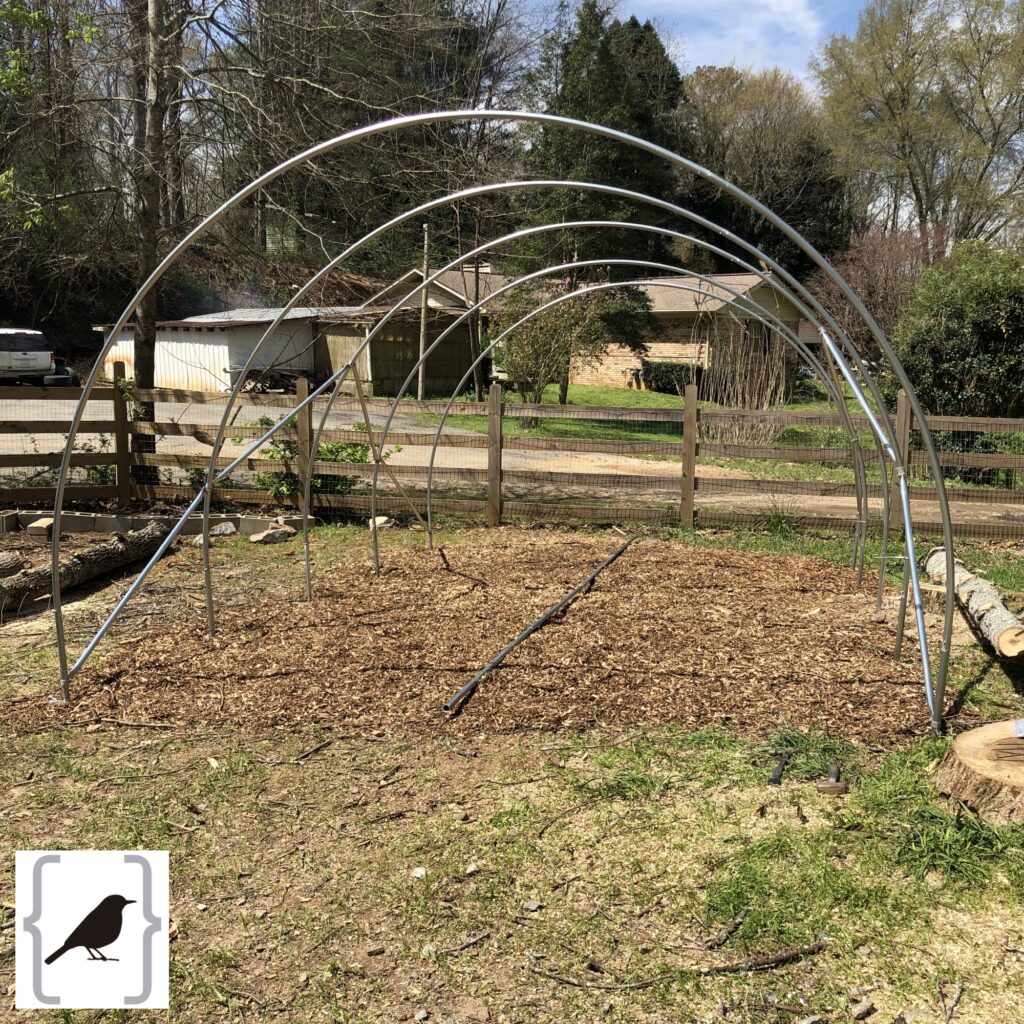
The bows were assembled and attached 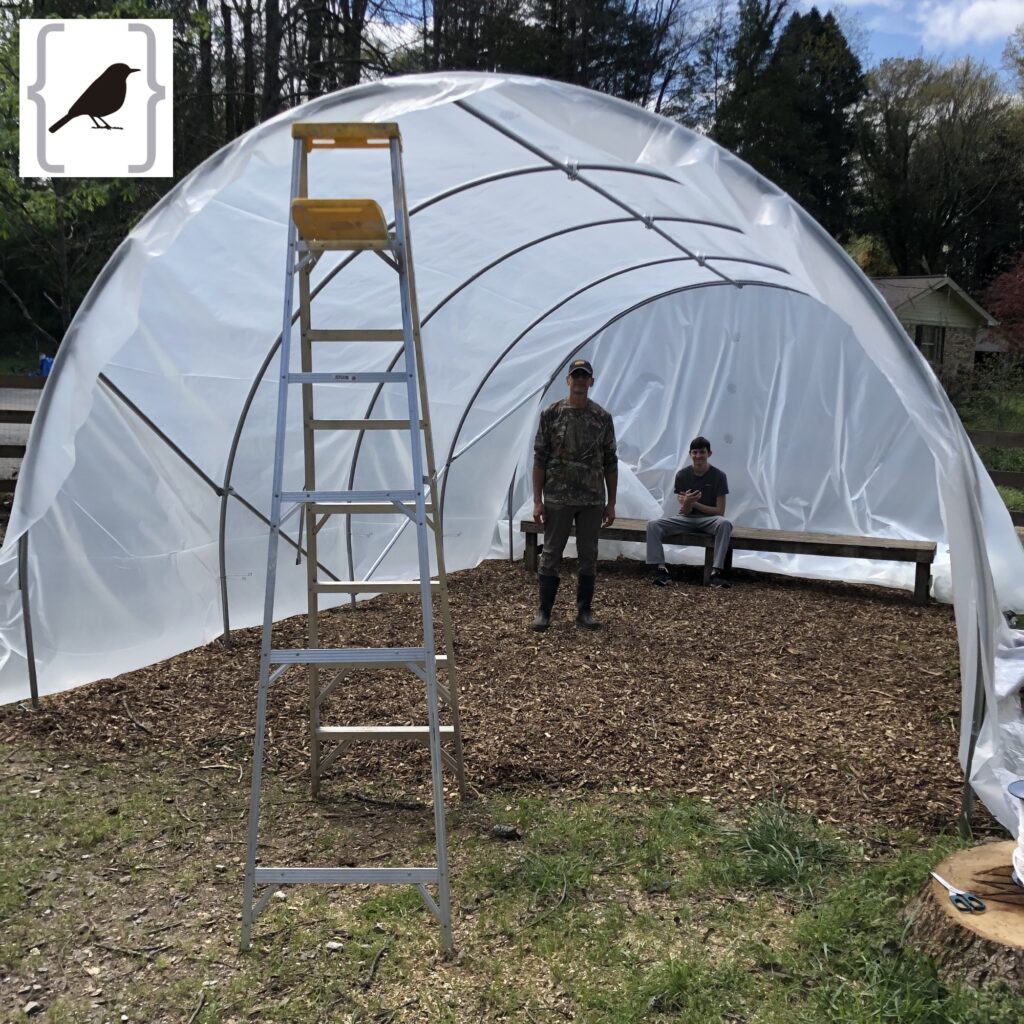
We had to call in back up to get the center purlin up and the plastic over the top! 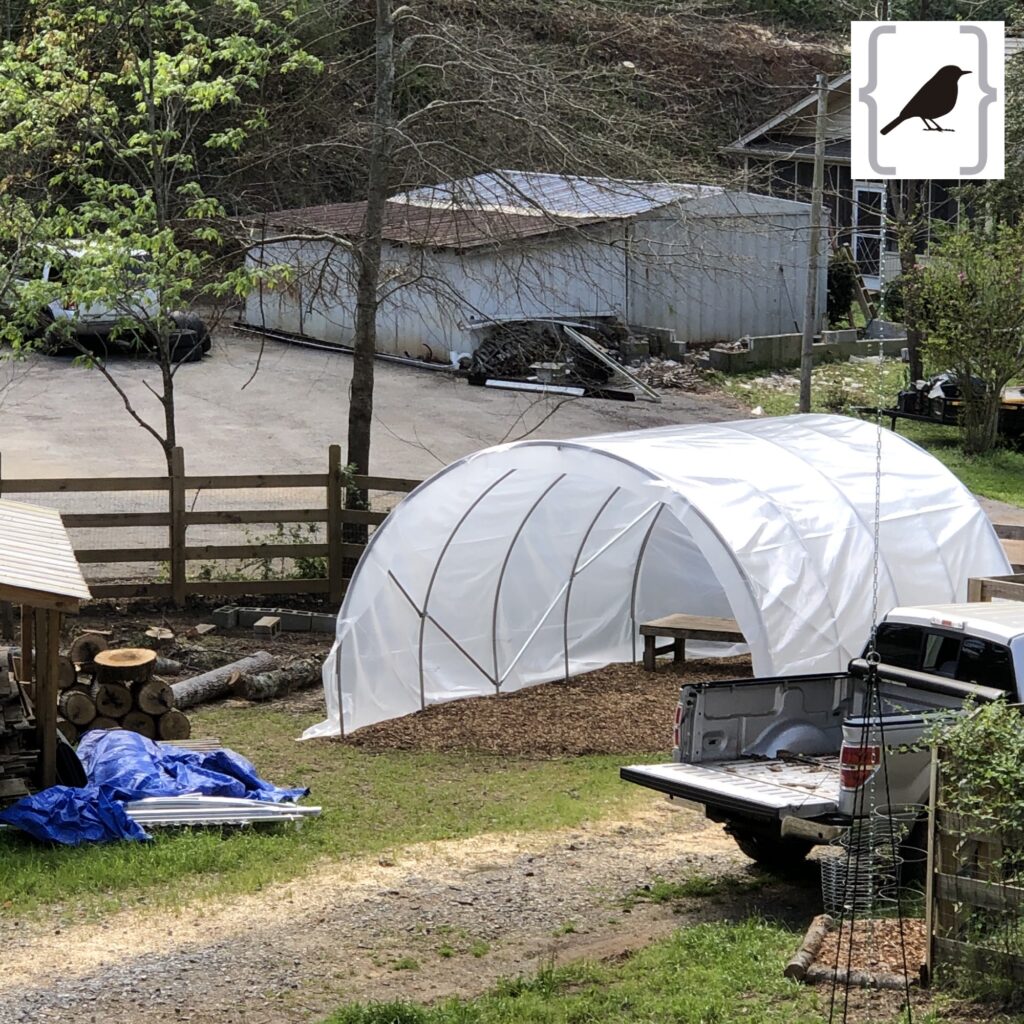
Don’t forget the wind brackets! 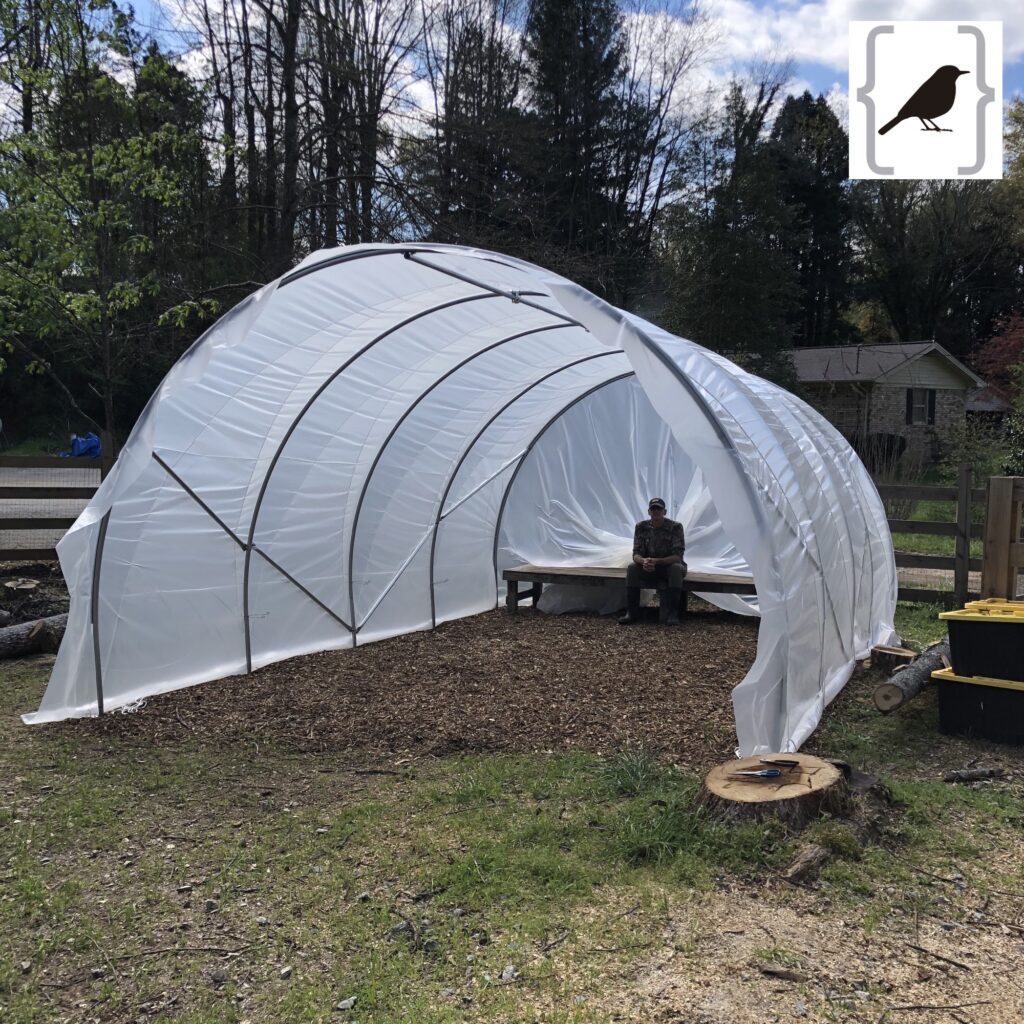
Let’s get this party started!
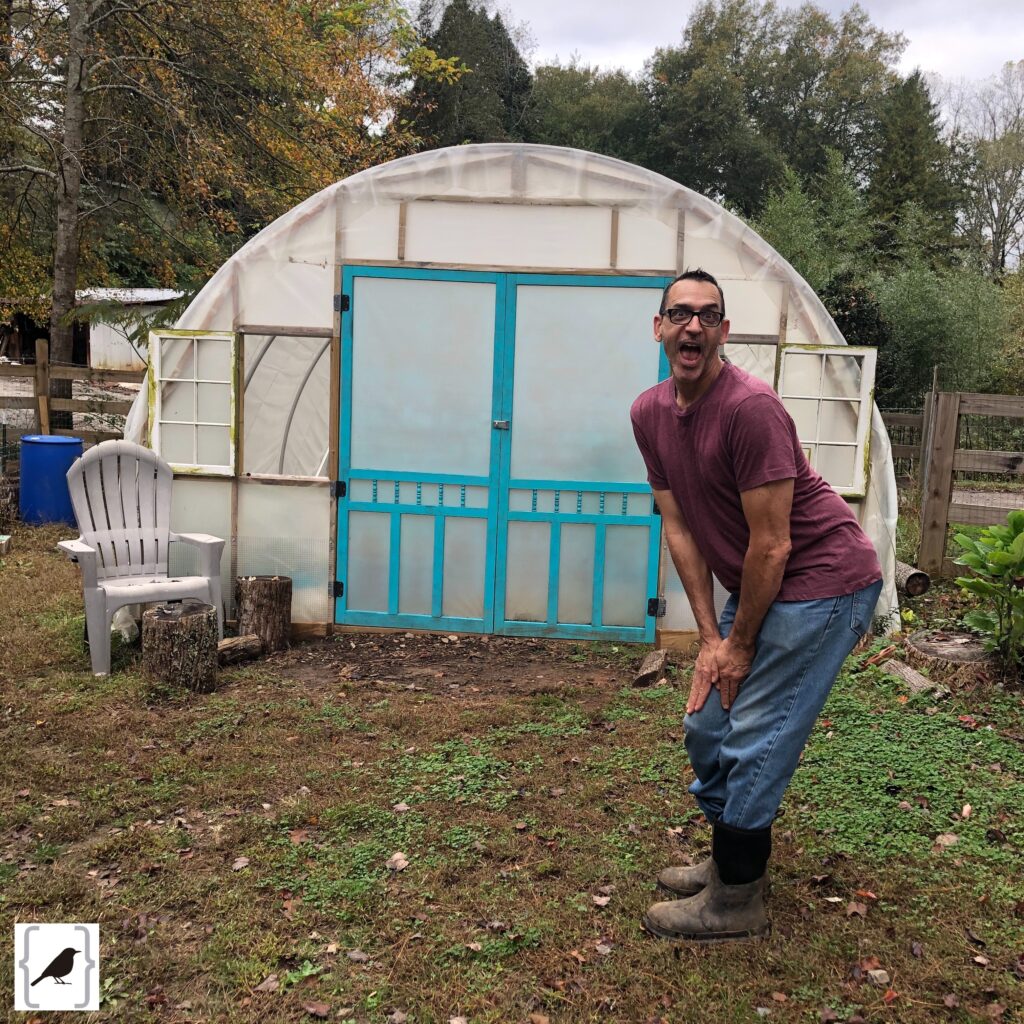
Now for the ends walls! Wouldn’t you know it, they started to sell pre-made end-walls after we finished our build! Ok, but if you know me, you know that I need to put my own special touches on everything… touches of blue & green and whimsy and this would be no exception! Hubby had a brilliant idea to get screen doors at Home Depot {our standard Friday night date excursion}. I was thrilled they were even kind of cute! We had windows leftover from the greenhouse build so we decided to use those for ventilation. This wasn’t the easiest project, that’s for sure because we had no plans and it was just “figure it out as you go” which seems to be our speciality {which I am not so sure is a good thing!}.
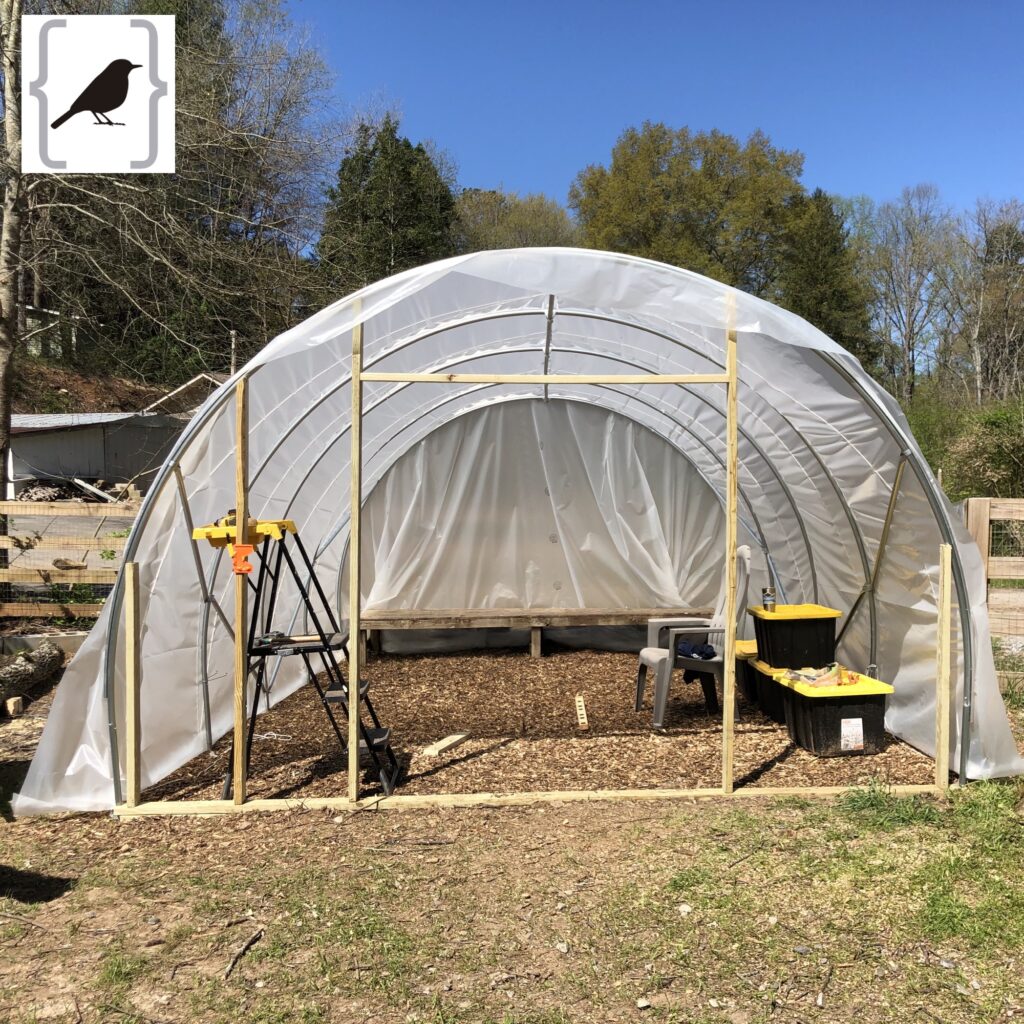
Framing the end wall. Not so fun! 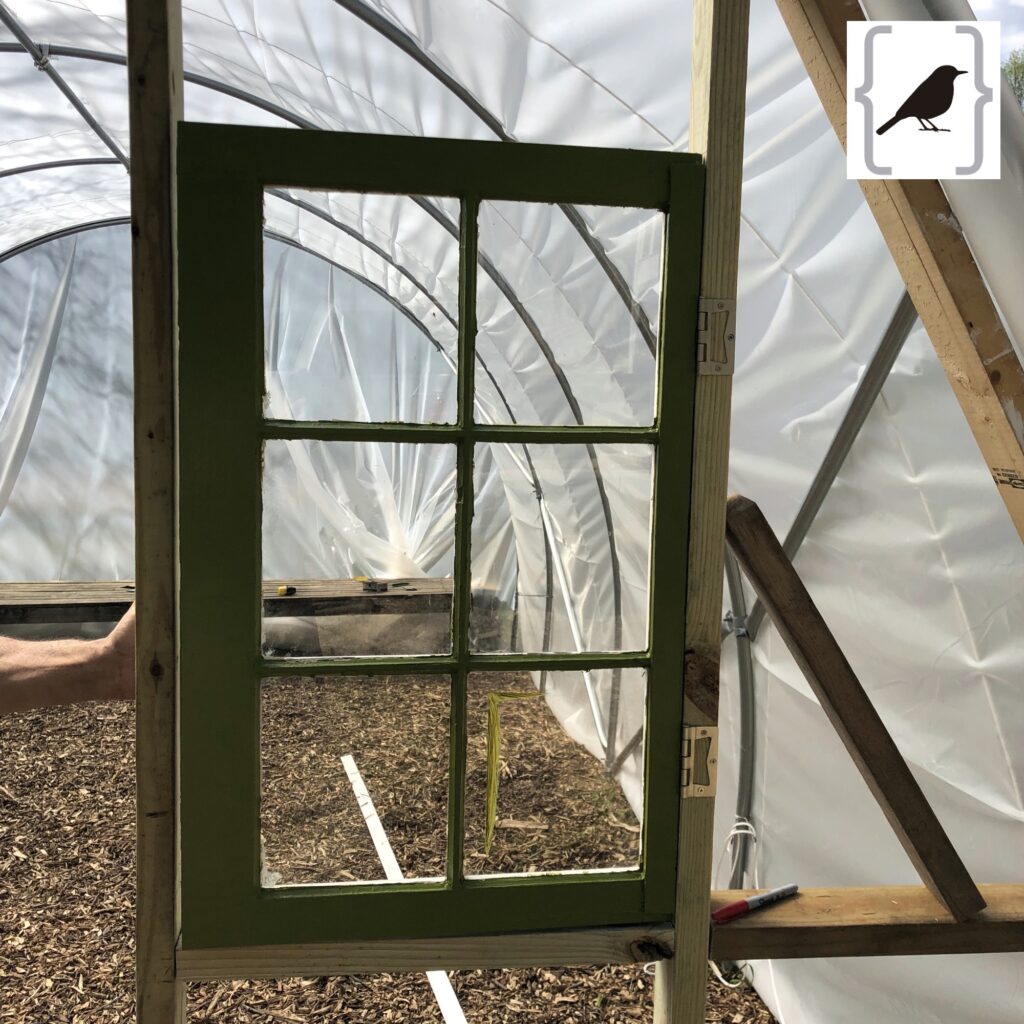
Green windows added! 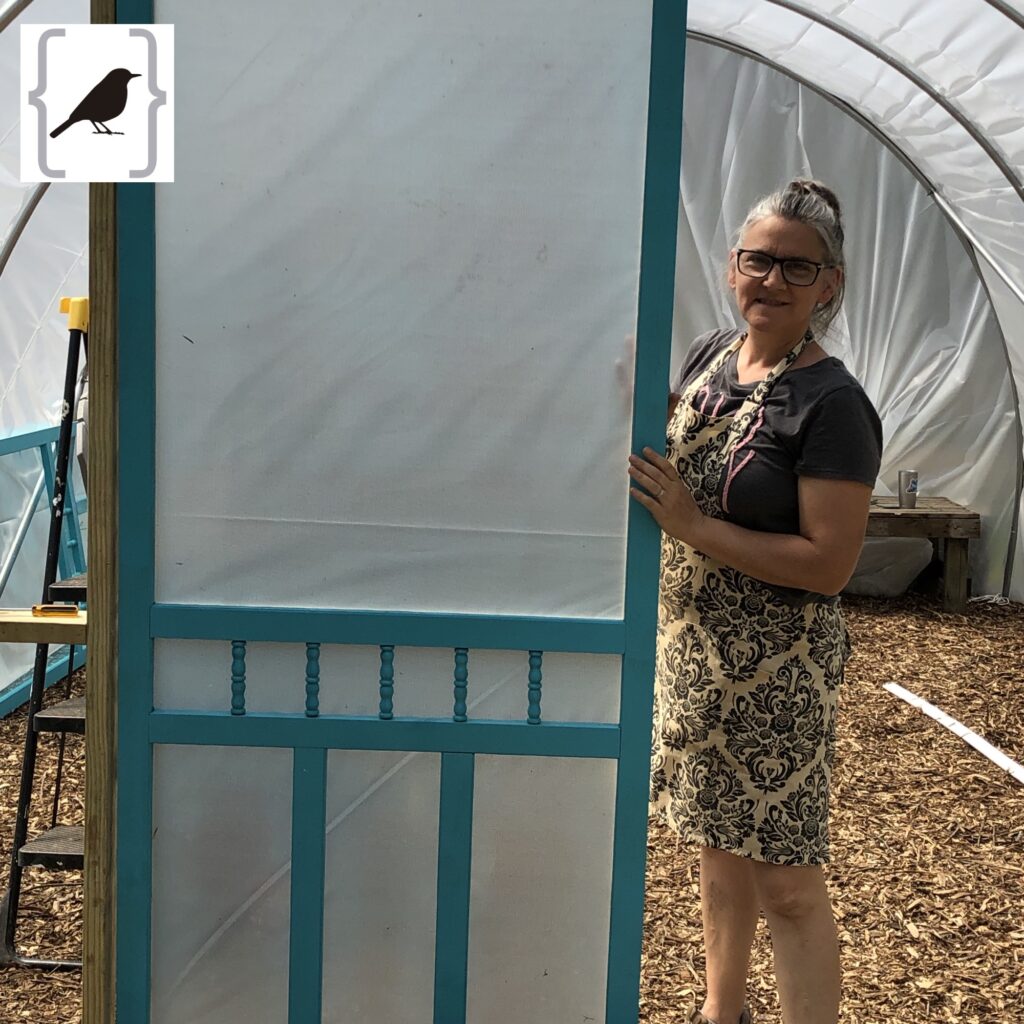
Blue screen doors added! 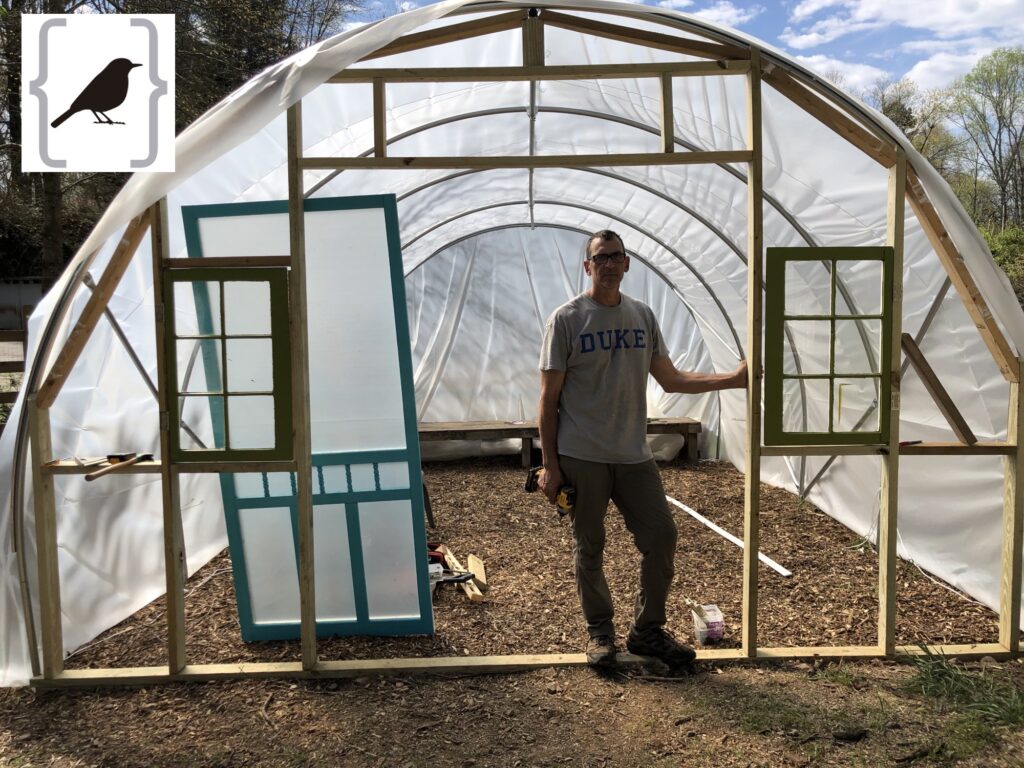
It’s coming together! 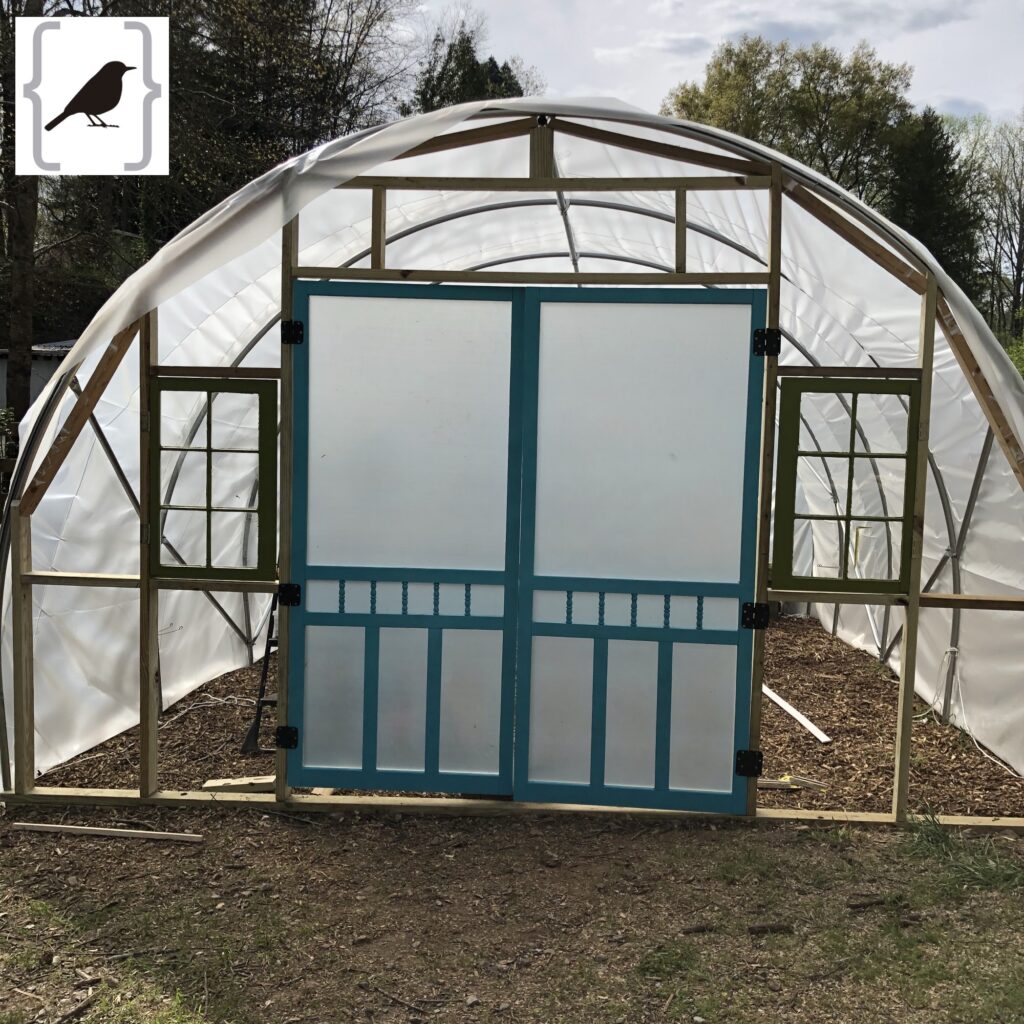
Woot woot!!!
Now I’m 10 steps ahead of myself thinking about what we want to plant! Focus, Mandy, Focus! Alrighty, we got the end wall built and then it was time for reinforcement… just incase some critters would like to help themselves to my harvest, but more so, to keep the dogs out and from their balls going right through the plastic! We added 18″ rabbit fencing on the sides and along the front, added a board along the ground in the front and got all the plastic sealed up with greenhouse tape! {don’t skip that step!}
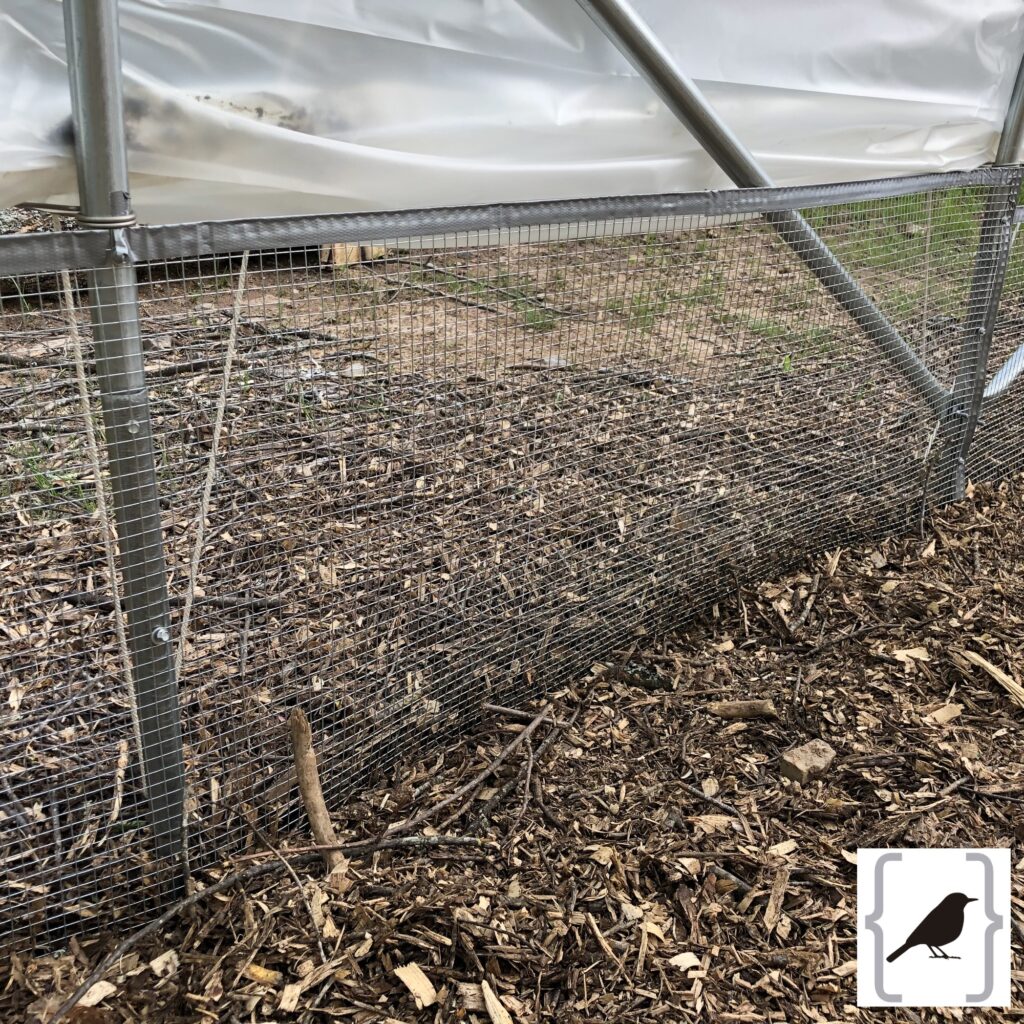
Rabbit fencing on both sides 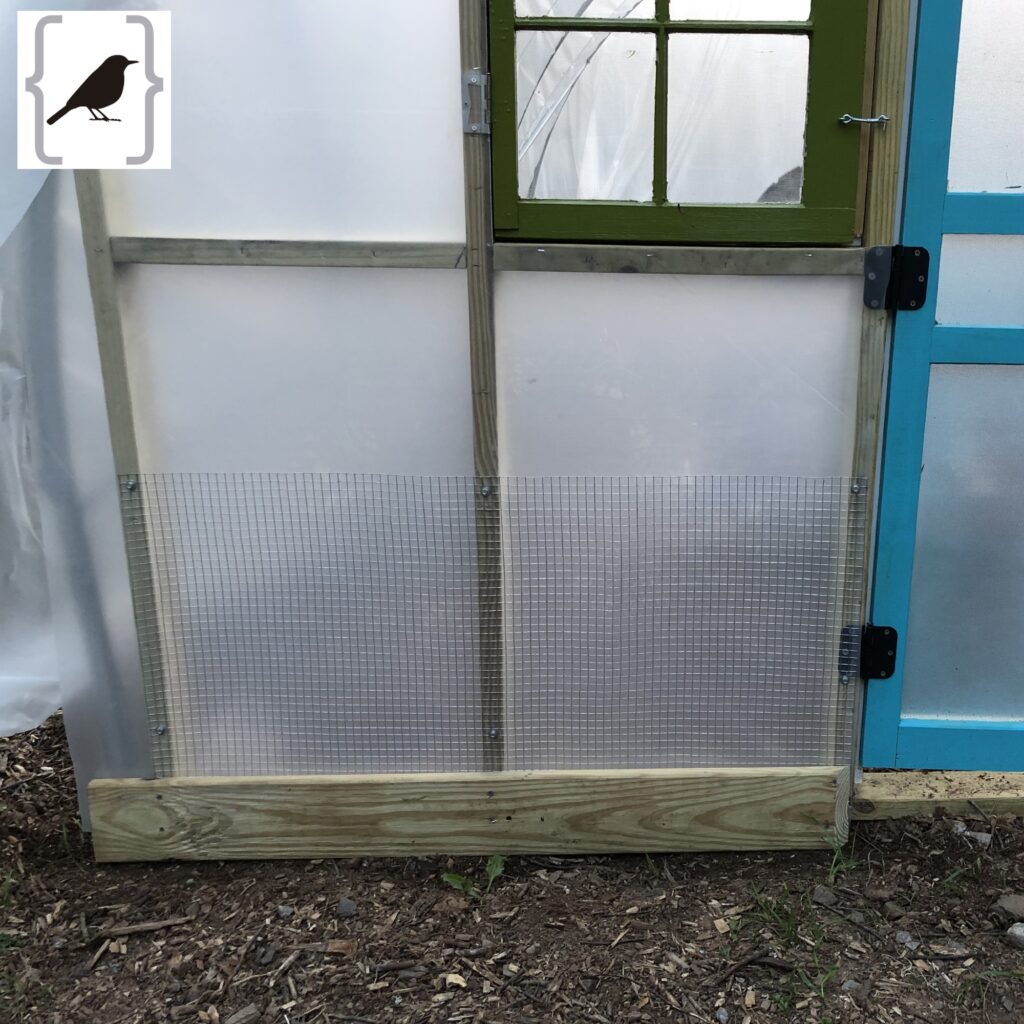
Board and fencing at the bottom 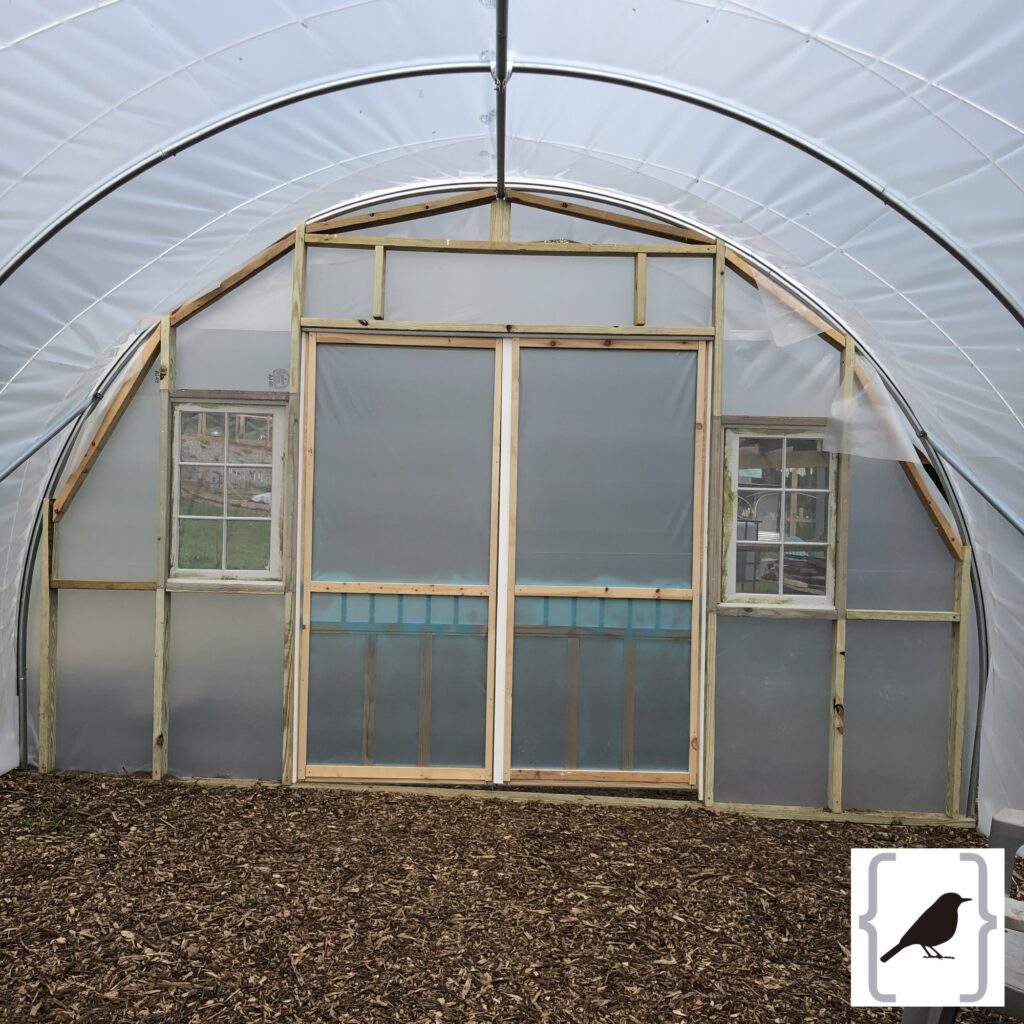
Plastic sealed up with greenhouse tape 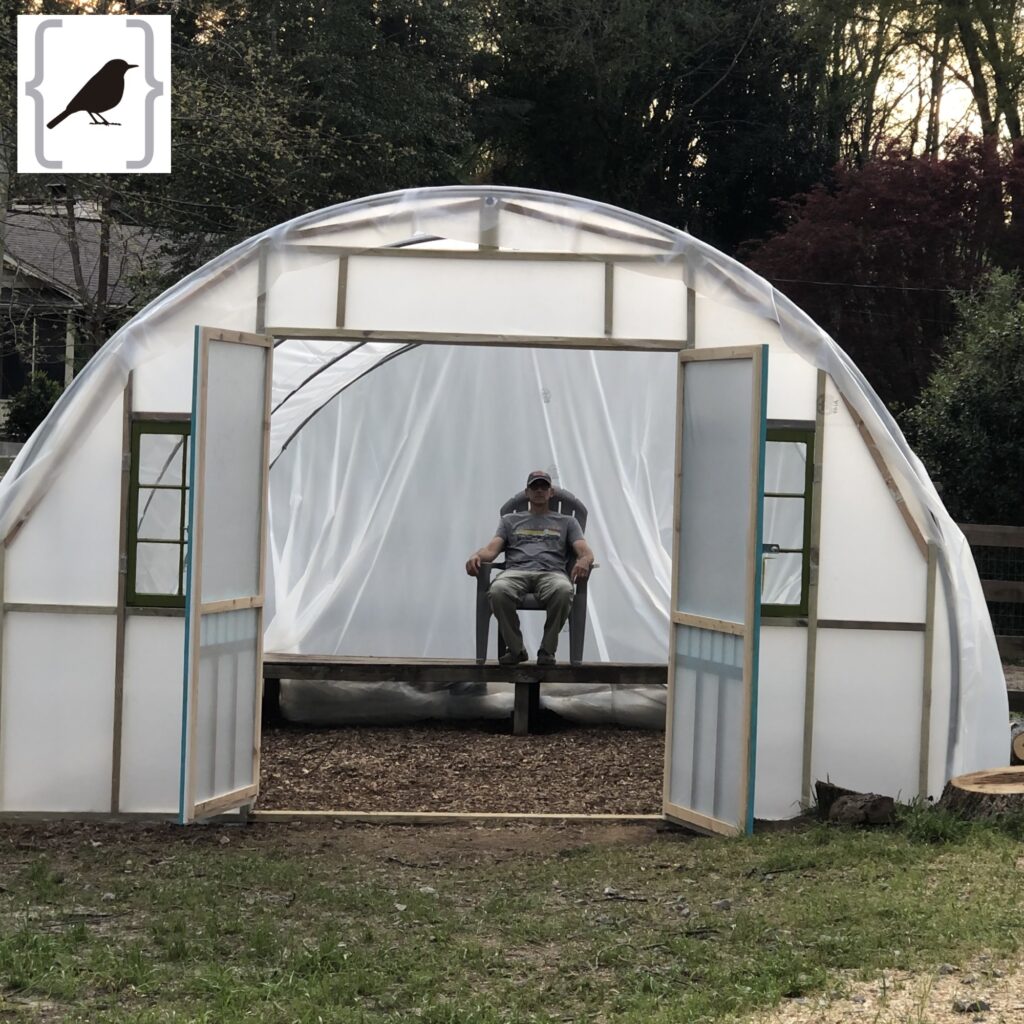
Rest time!
Now it was time for the back end wall. Since we had about 6′ until we hit the back fence we decided to bow it out a bit using 4×4 posts and PVC pipe and frame out a place for a future ventilation fan. This went together MUCH faster than the front! And then I added a little creative touch {I am still not done… gotta get the solar lanterns installed}
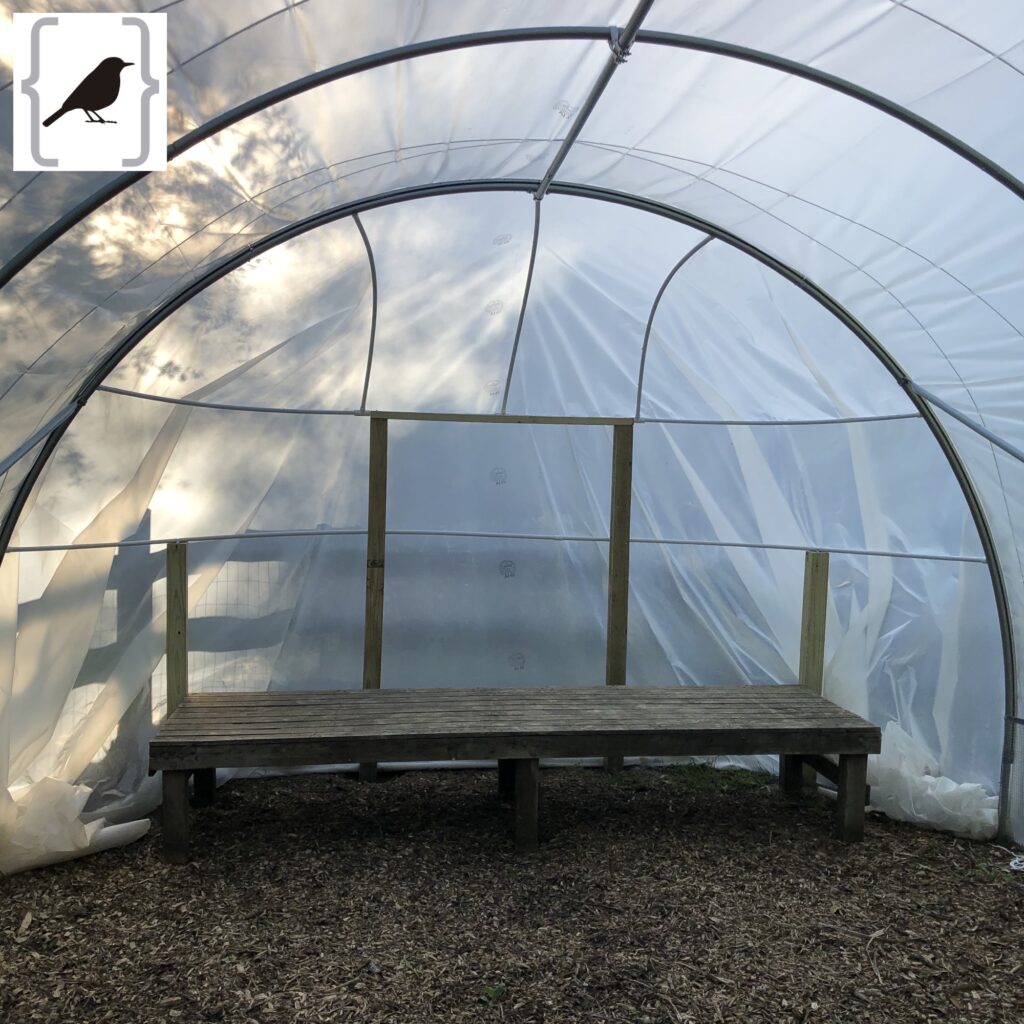
My husband’s creative idea! And then we put in a pallet wood table he got for free! 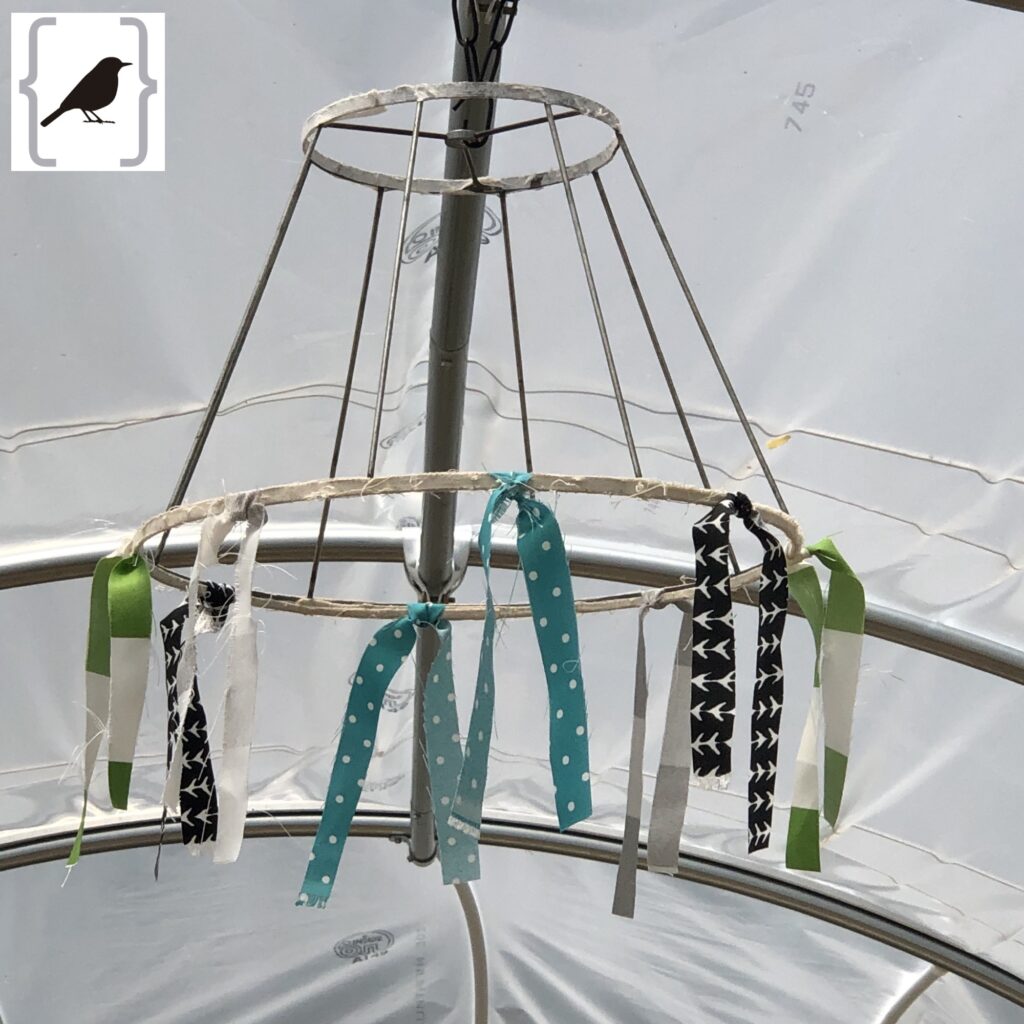
Naturally I needed to add a cute little touch inside!
We’re almost through folks! We needed WATER… and running a hose 150′ from the house wasn’t happening! We had, thankfully, gotten one of the large water totes from our friends at Bramberi Farm, so we jacked it up on concrete blocks, put a fitting on it for a hose and then my brilliant hubby rigged up a pump with solar power to it and we were off and running… running water that is!
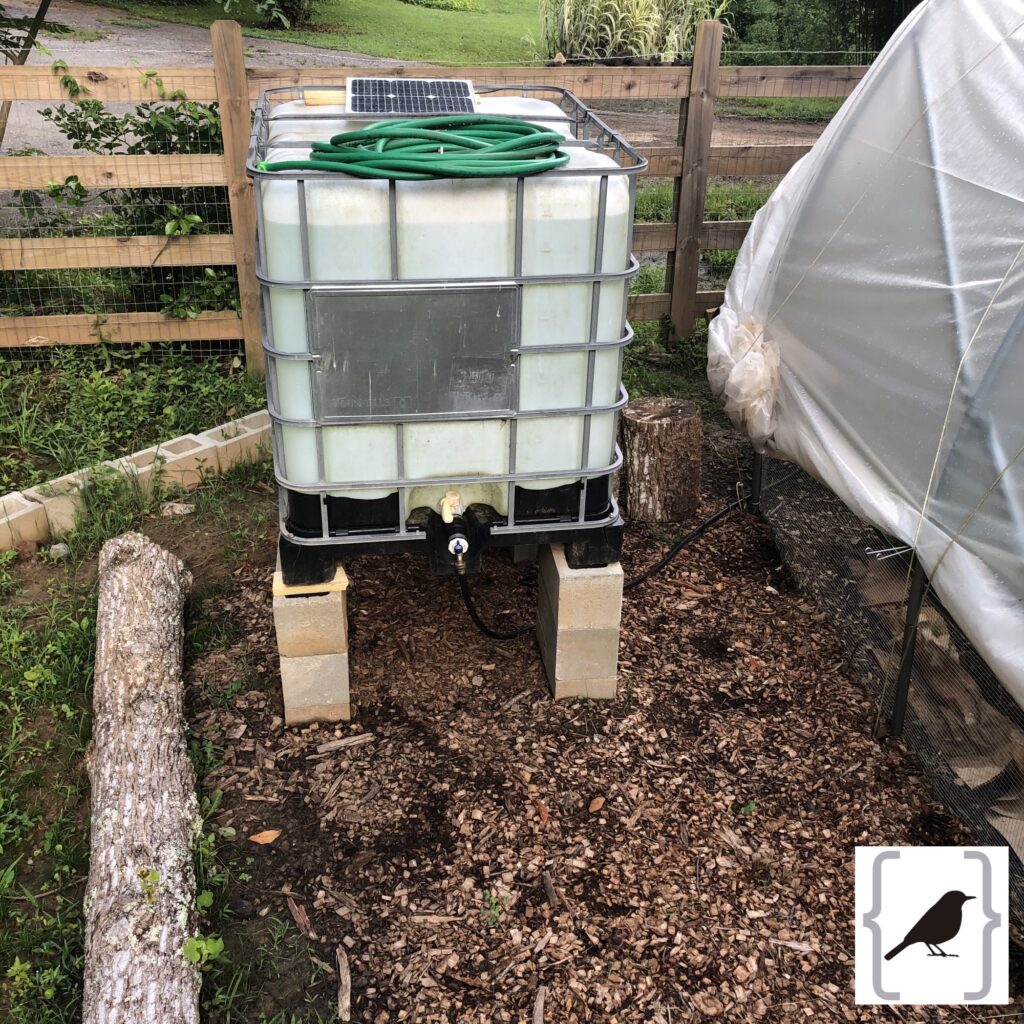
I’m sure this meets all safety regulations!
About mid-summer we realized we needed to get some shade cloth to cool the tunnel down a bit! Thankfully Amazon had just what we needed and arrived within a few days!
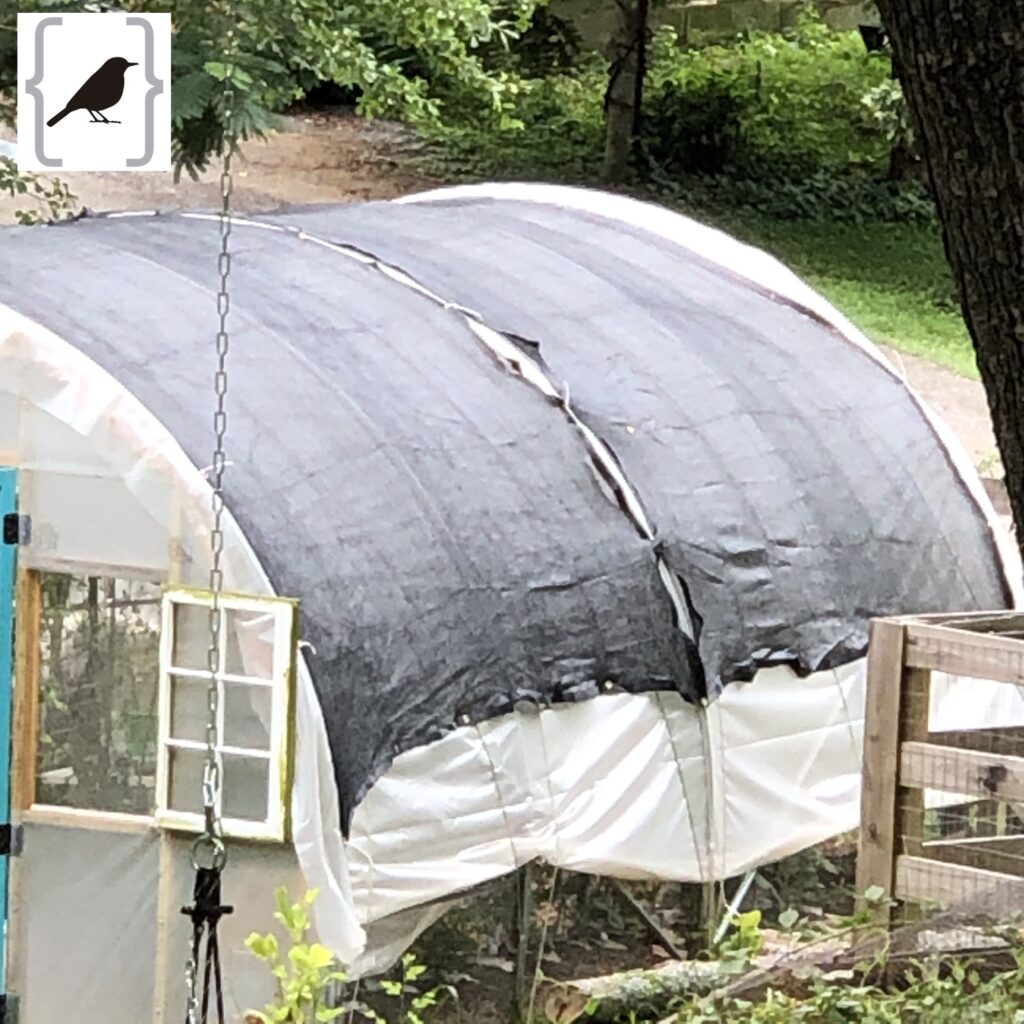
Cooling things down!
I have at least 500 pictures of the growing/harvesting of what came to be from our first high tunnel growing season, but that is for a future post except I’ll show you just these few pics! {You can check out our first season’s harvest post here from our main garden}
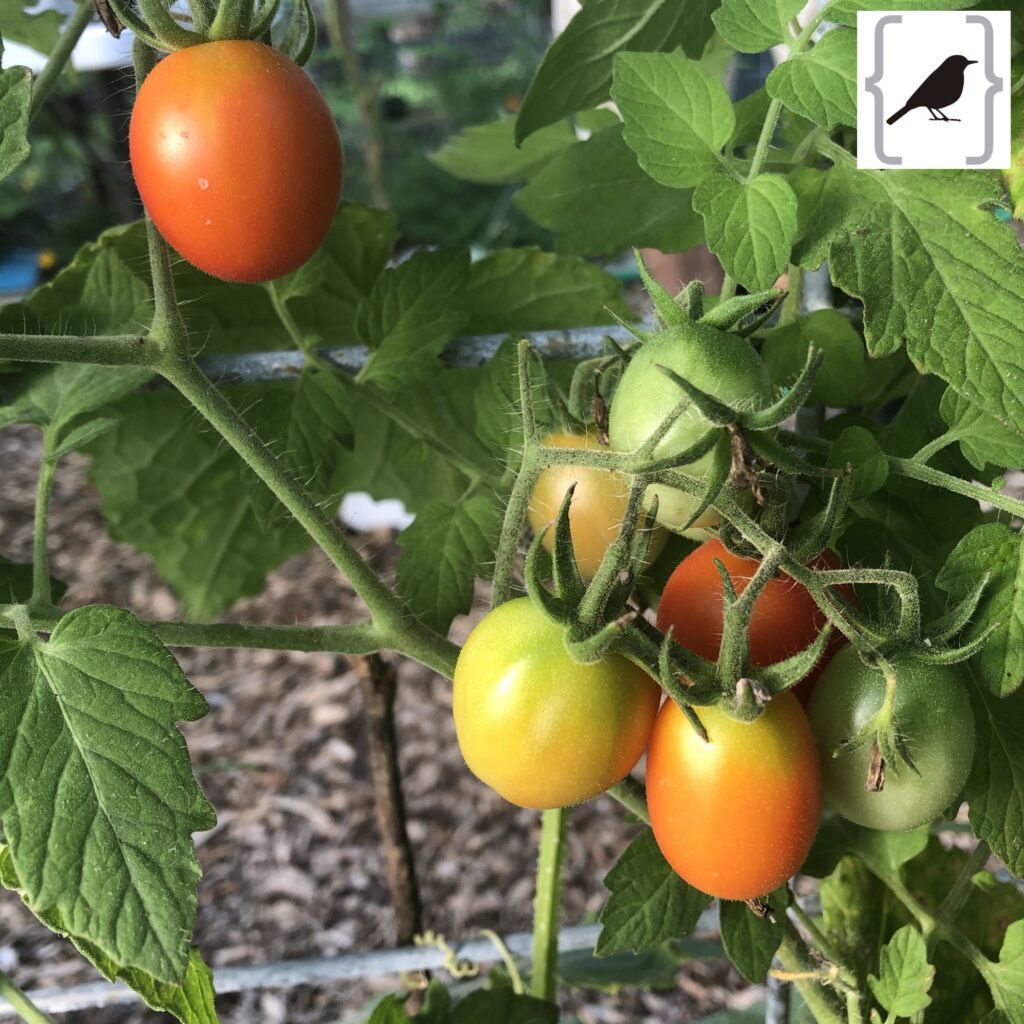
L’Grappoli tomatoes 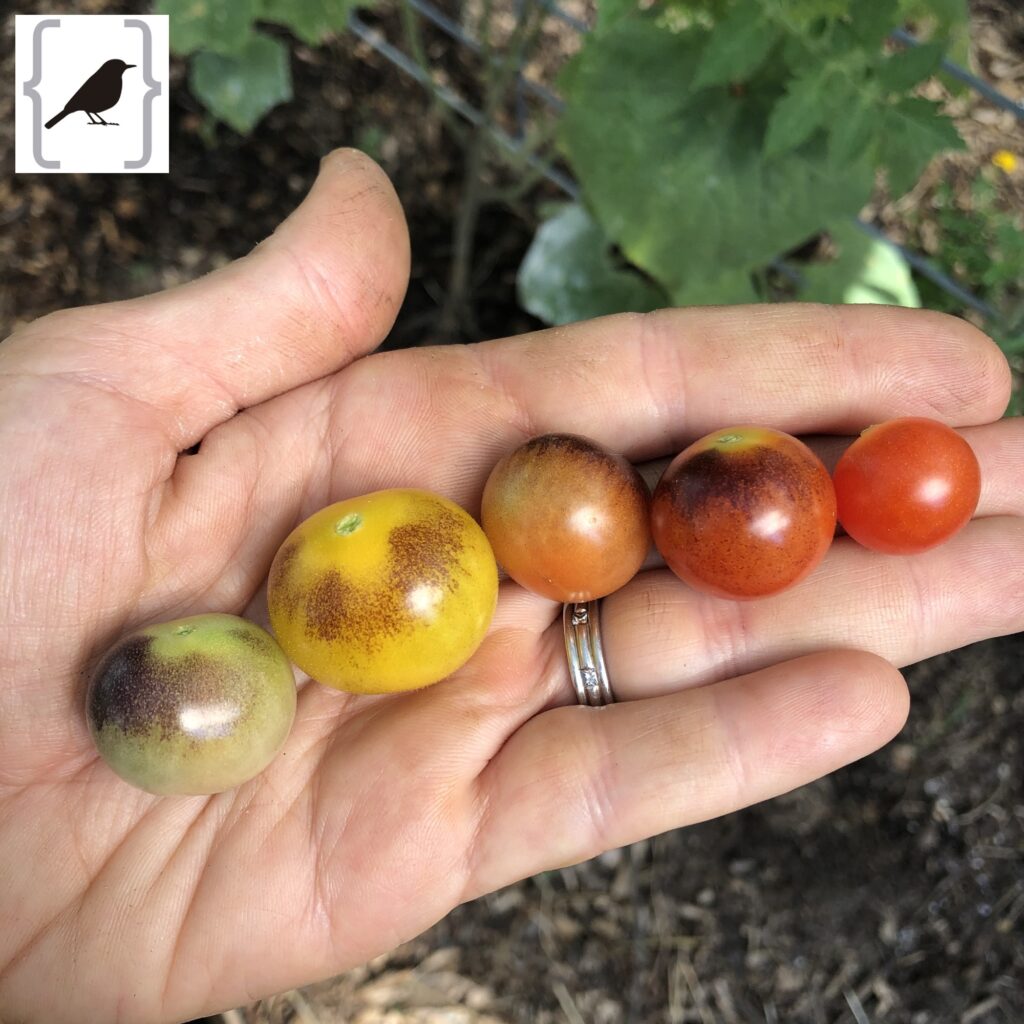
Rainbow of tomatoes! 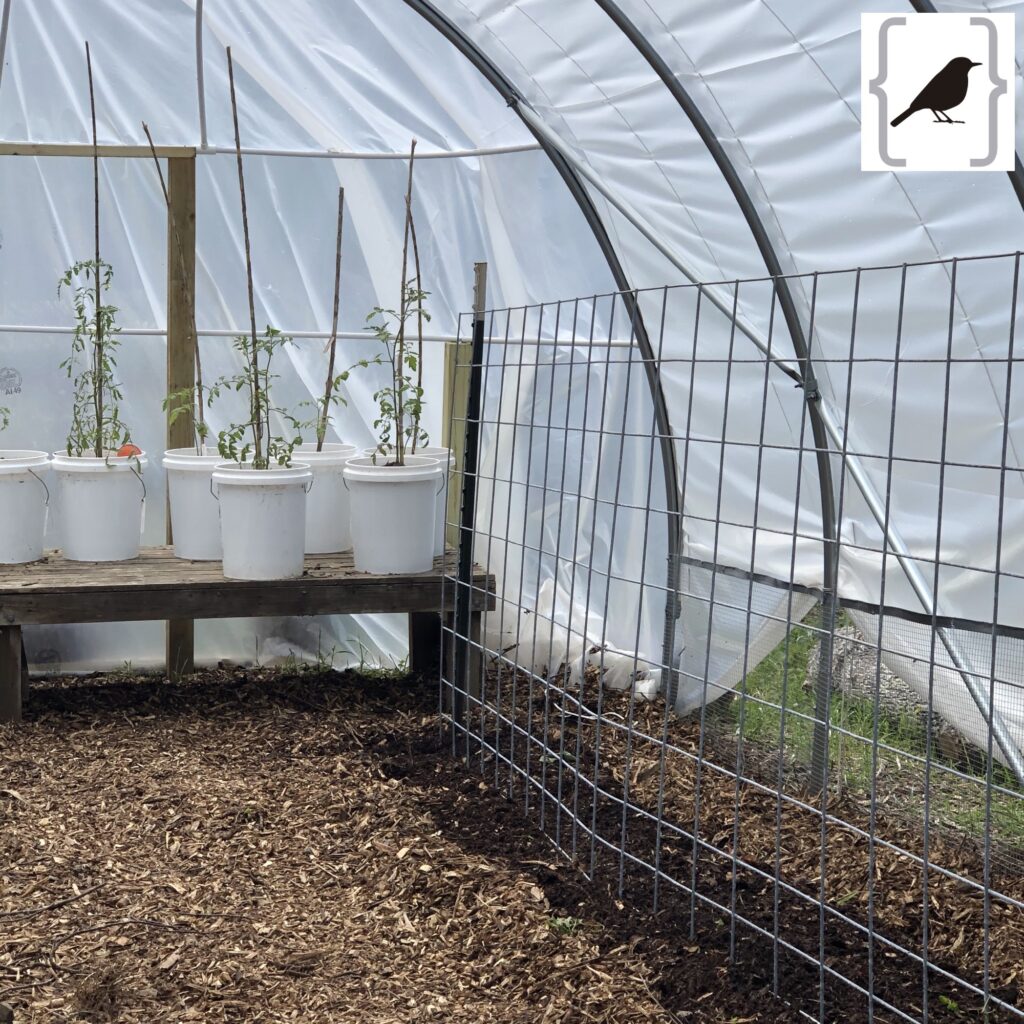
Trellis & buckets 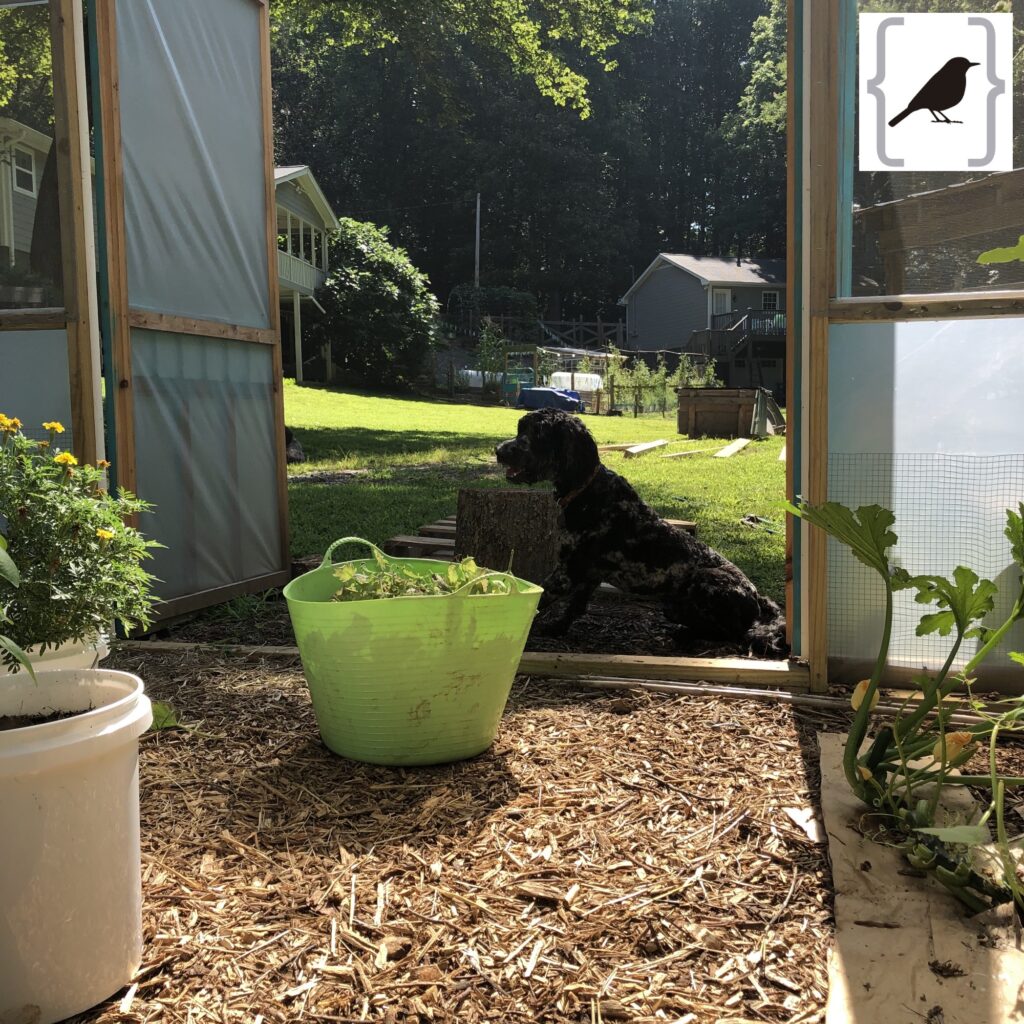
Looking from the inside out!
Next up is how we finally decided to “out source” a build job when I found an amazing and gifted guy on FaceBook marketplace who does raised cedar beds! It was the best decision ever because we decided we didn’t love growing in the ground! Keep an eye out for that post along with the details of the secret “raised bed lasagna” recipe!
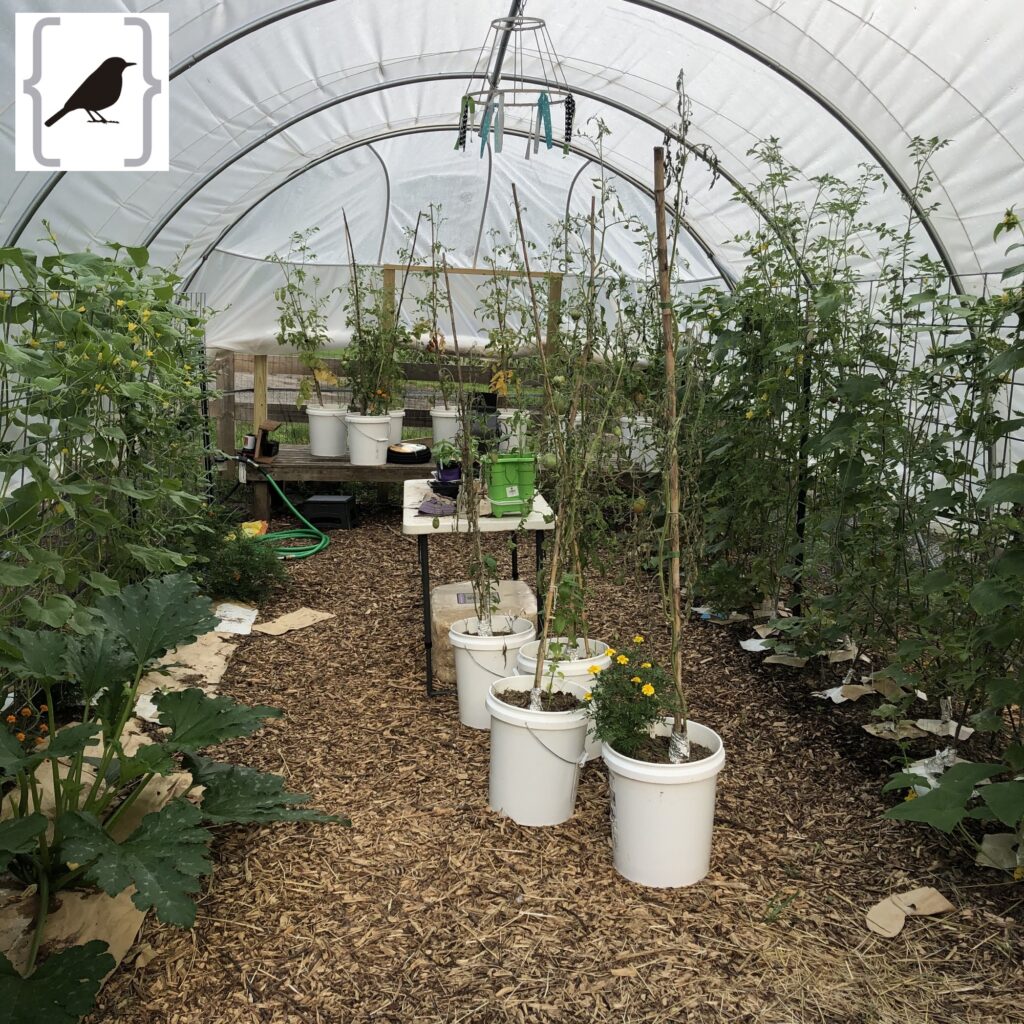
After one season growing like this… 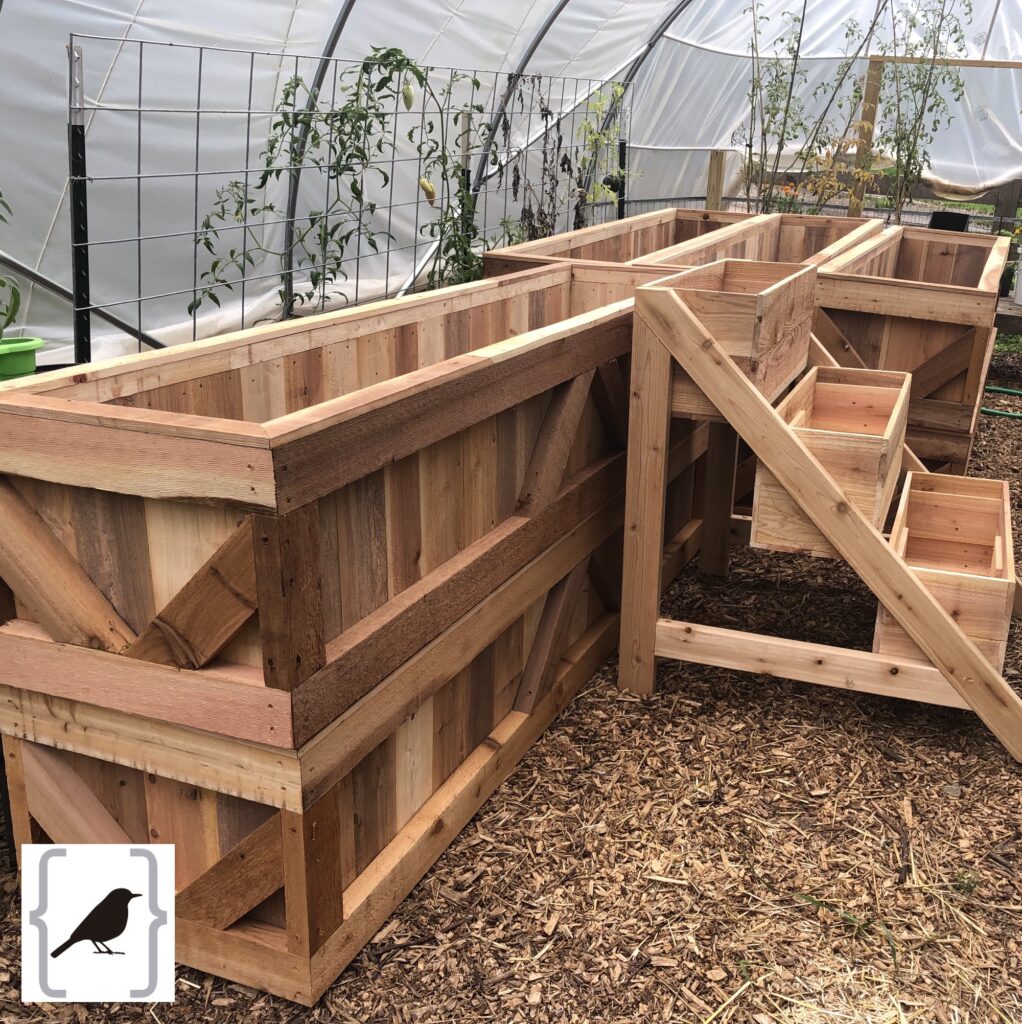
It was time for raised beds!
Have you grown in a greenhouse or high tunnel before? If so, what are your best tips, biggest victory and biggest challenge? Share with me, peeps!
The stories and pictures on my blog are my creation {unless otherwise noted}, please do not share, copy or reproduce in any way without permission from me and without proper credit linking back to my original. Thanks!

Leave a Reply